HOTSHOT 28- A Portrait Sketch Process and a Workshop date in London
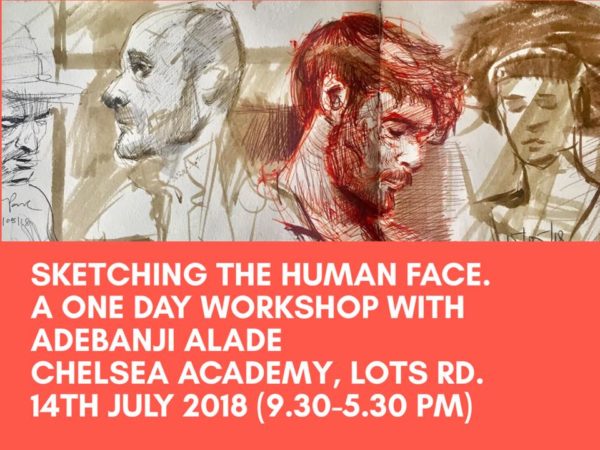
Adebanji Alade’s One day Workshop on Sketching The Human face in London
Hi guys, I am back here again, this time with a process of how I sketch a portrait using the angles and block-ins. In this method I start from sketching the overall angles from one spot and continue to flow through the sketch, bringing each phase to completion as I go along. I also have a date and venue set for my Sketching the Human Face Workshop on Saturday, 14th of July, 2018 in London, make it a date. I’ll talk about that at the end of this post.
THE PROCESS OF SKETCHING A PORTRAIT USING ANGLES AND BLOCK-IN TECHNIQUES
This is a sketch of one of my sketching HEROES, his name is Adolph Menzel.
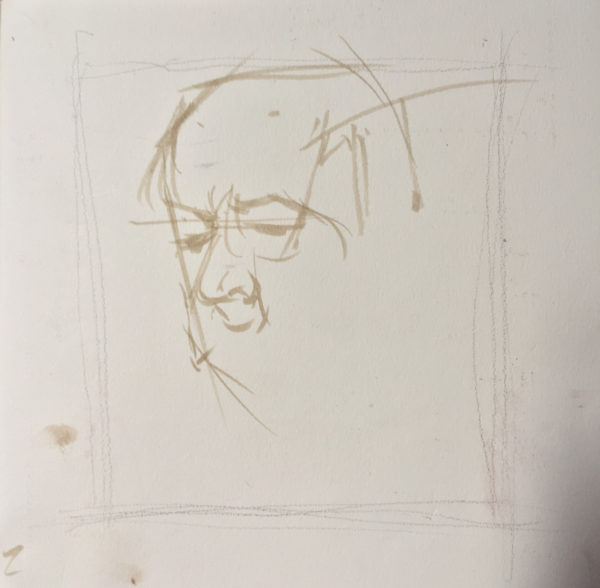
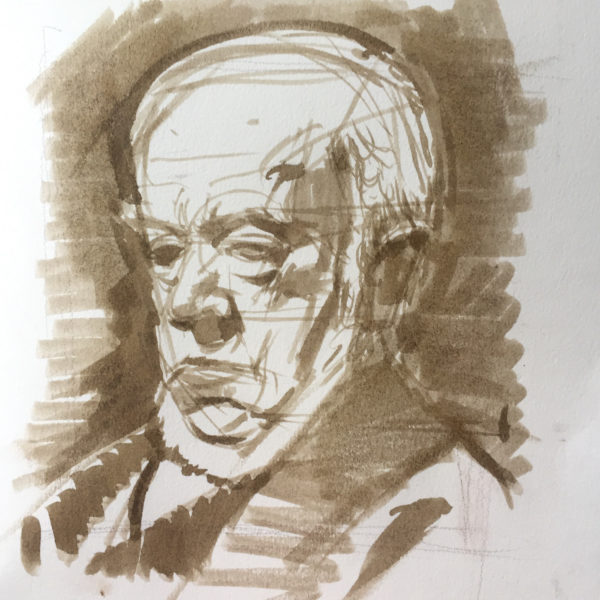
STAGE 1– Here I begin to locate basic features with angles. I am constantly thinking of the angle at which each feature or contour tilts. This does not involve rigorous measurements, it’s all about visual comparison. I am asking myself, how far is this from this? What angle does this area tilt? What connection do they make.
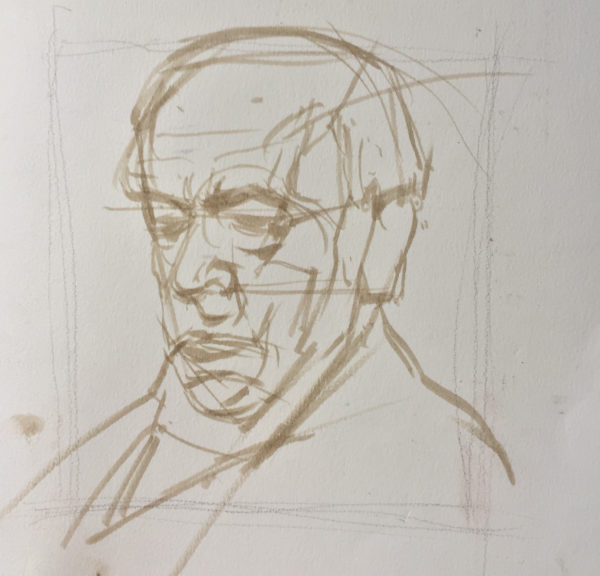
STAGE 2- This is where I complete the whole sketch of his head. I forgot to mention that I am using a ‘ZIG number 075 Art & Graphic Twin Pen’ to do this initial sketch. It is not accurate at this stage but I’m still comparing one area to another, making sure that I’m constantly thinking of how each angle tilts? What lines up horizontally with another part? What lines up verticaly with another part.? It is like a game, if you make it fun, it will be more adventurous and this will help in tricking your brain. It will make your brain feel a boring exercise is interesting!
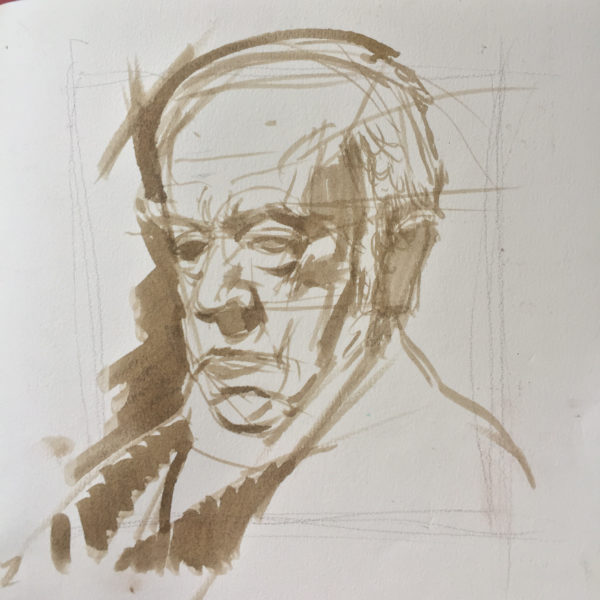
STAGE 3- Here is where I begin to block-in with the same ZIG 075 pen. I use the broad side to make broad strokes to block-in areas that are in the shade.
STAGE 4- This is a contiuation of Stage 3. I am adding more broad-strokes in the most sketchy manner. It helps to follow the direction of the form, while doing this. Because the pen is transparent, it becomes darker as one builds up layers in succession.
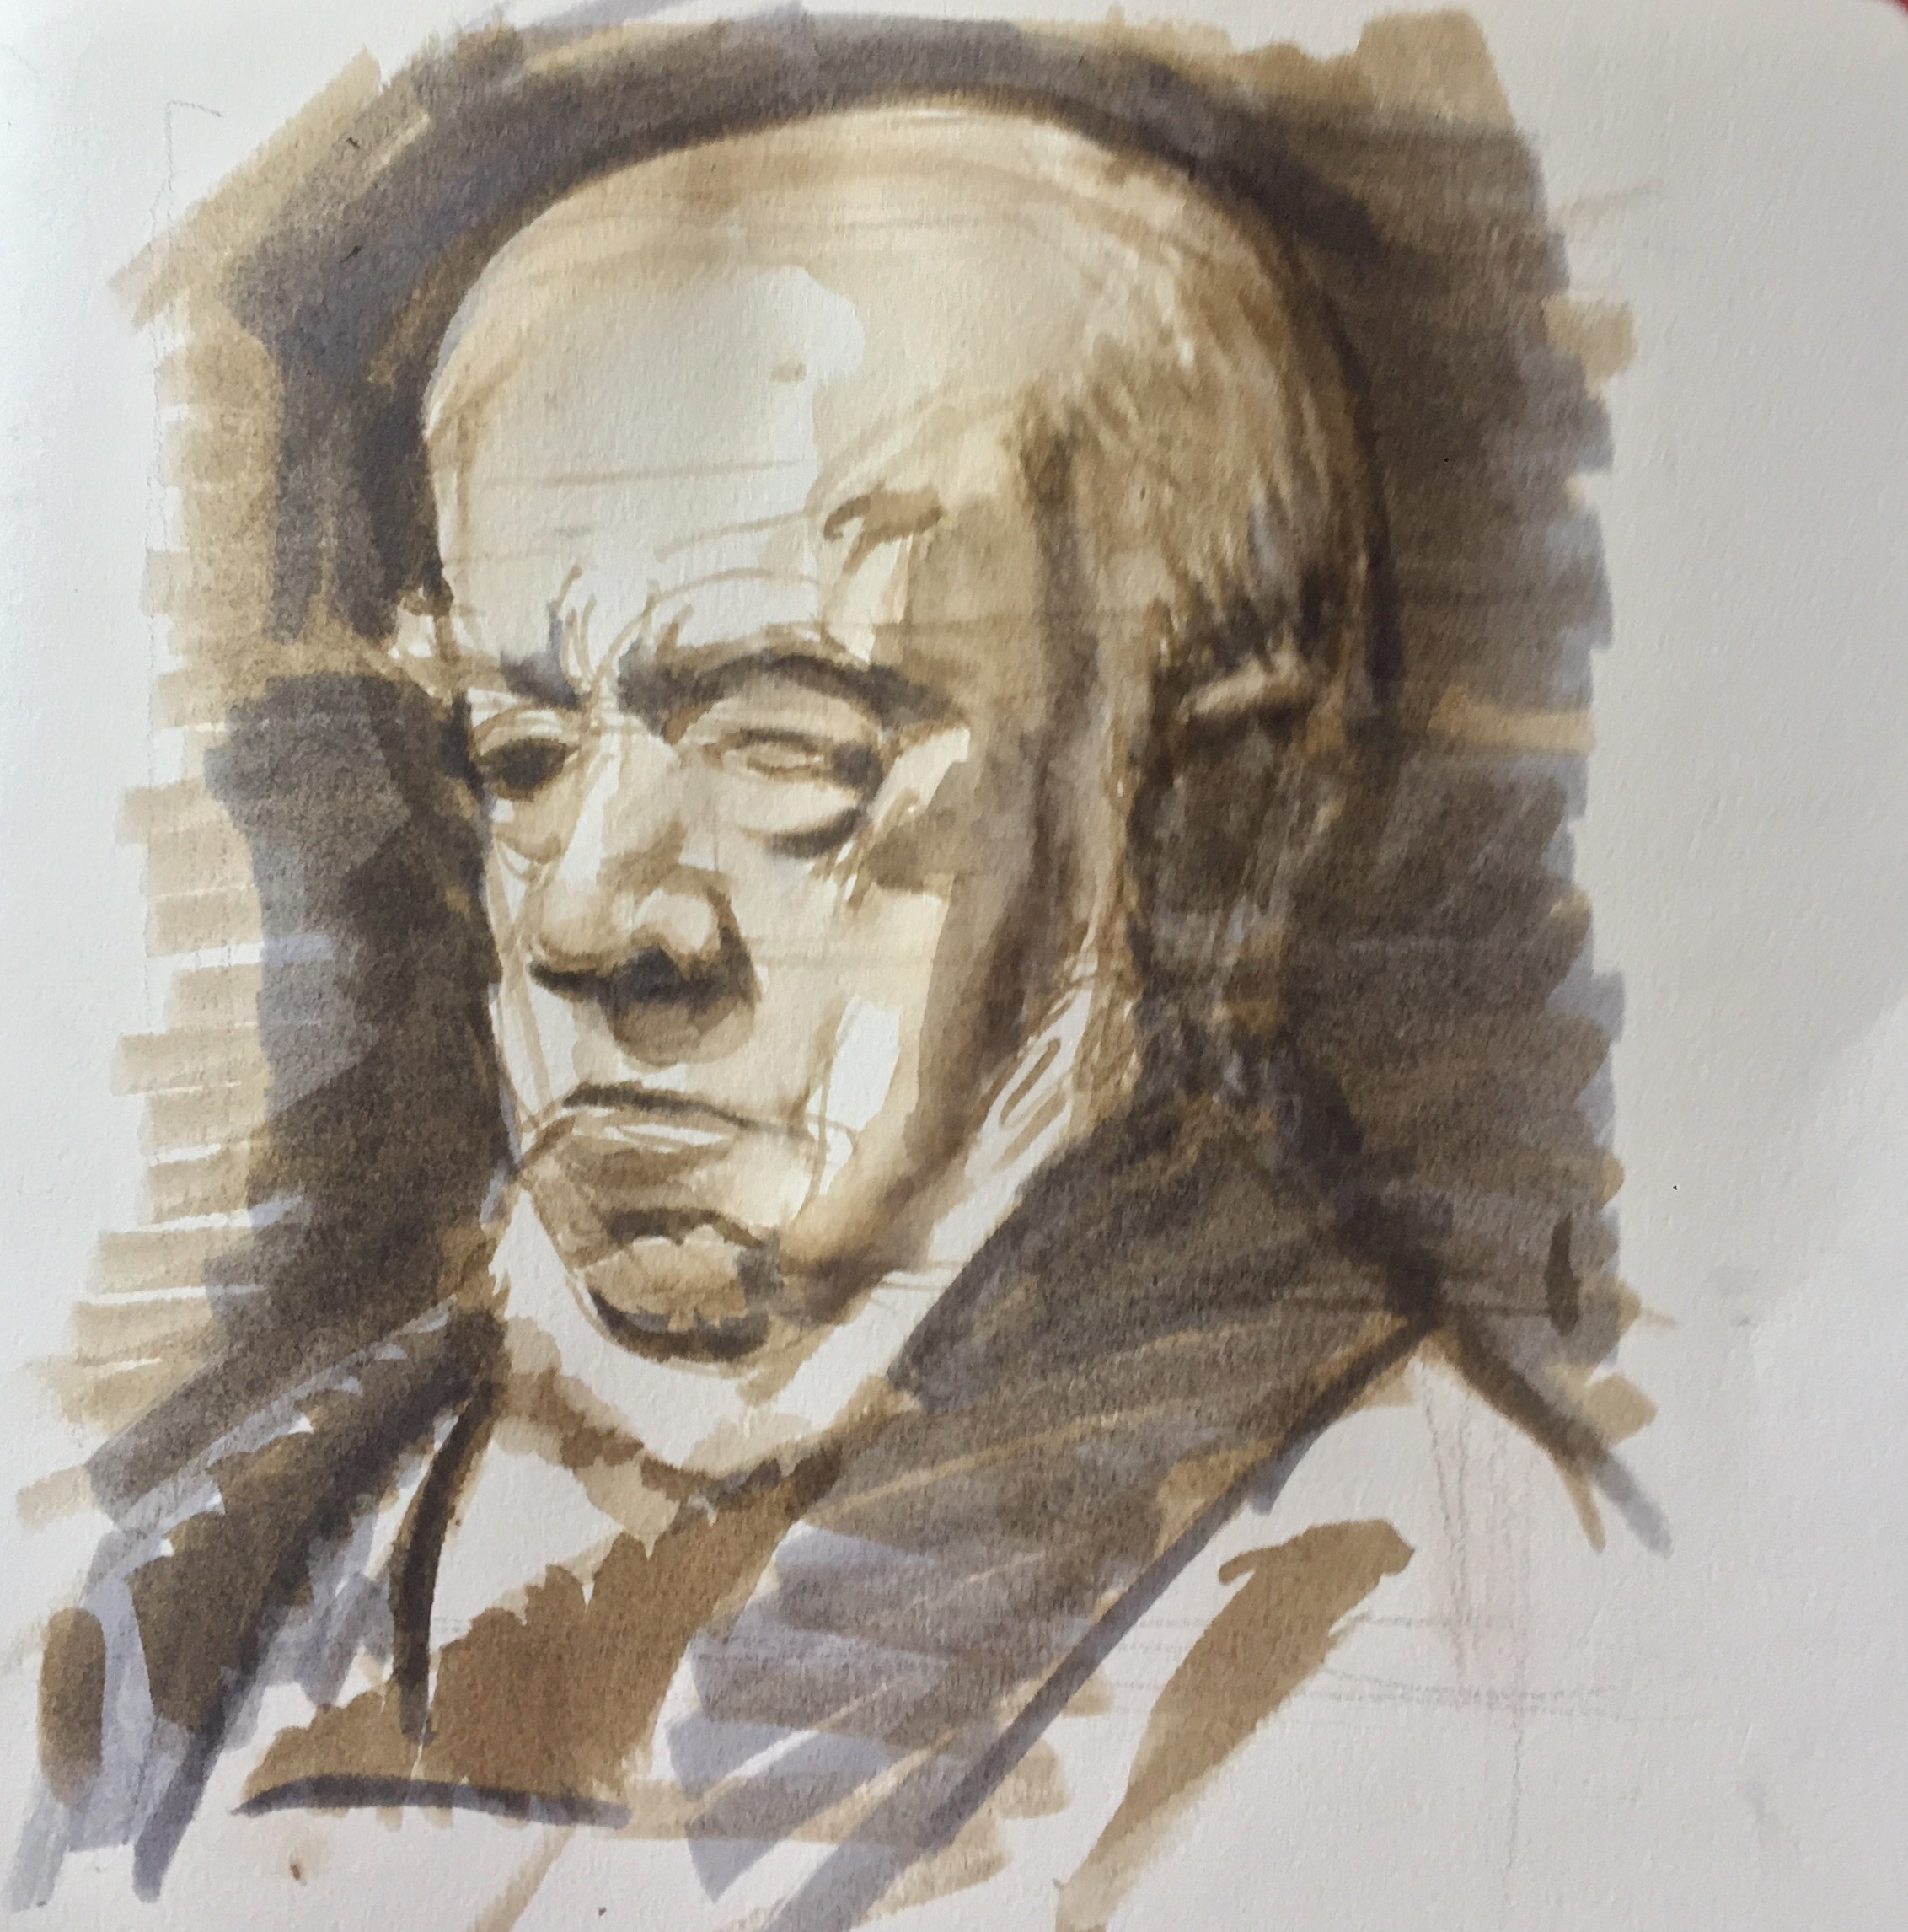
STAGE 5– This is the first time in the whole sketch that I am introducing a new pen. I bring in- ‘number 65, TOMBOW Dual Wash pen’ and some ‘light Brown in a Water Brush” to add richer darks to the sketch and because it is also transparent, it helps in building up layers. The strokes are placed in a very sketchy manner to animate the piece.
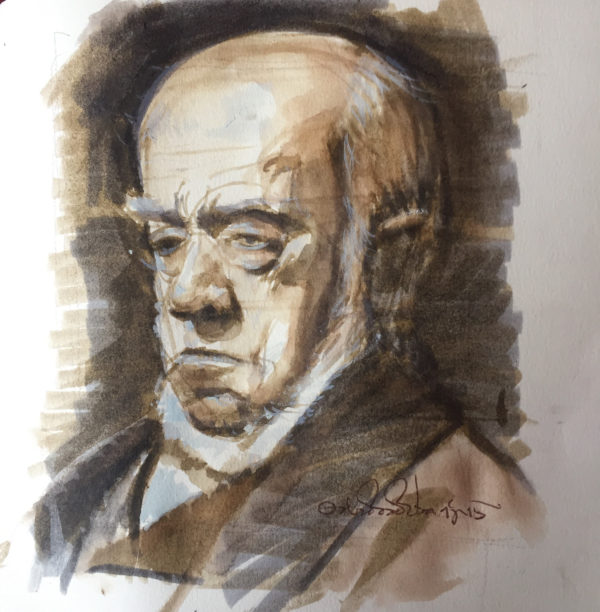
STAGE 6– Here I use more of the water brush. (I mixed up a light brown flesh colour with gouache and water and poured it into the Pentel water brush.) This is what I used to add a little bit of mid tones to the face, to create a slightly richer flesh tone. I also added touches of white gouache to heighten and lighten the areas that were most lit. These touches where done with care and precision, in order not to make it look overworked and still retain the sketchy feel.
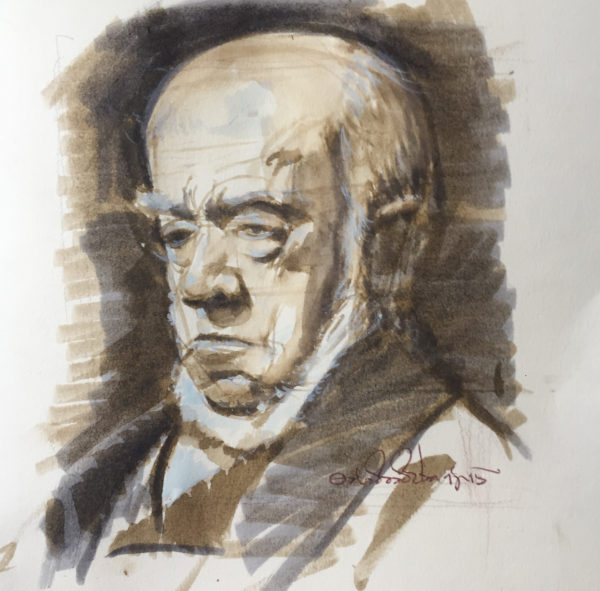
STAGE 7 (FINAL STAGE)– Here I add a little bit of a darker brown to the dark areas, this is done with the water brush which contains a darker mixture of brown gouache and water. I also use this to soften a few edges and add more darks to all areas that need to be darker.
MATERIALS USED
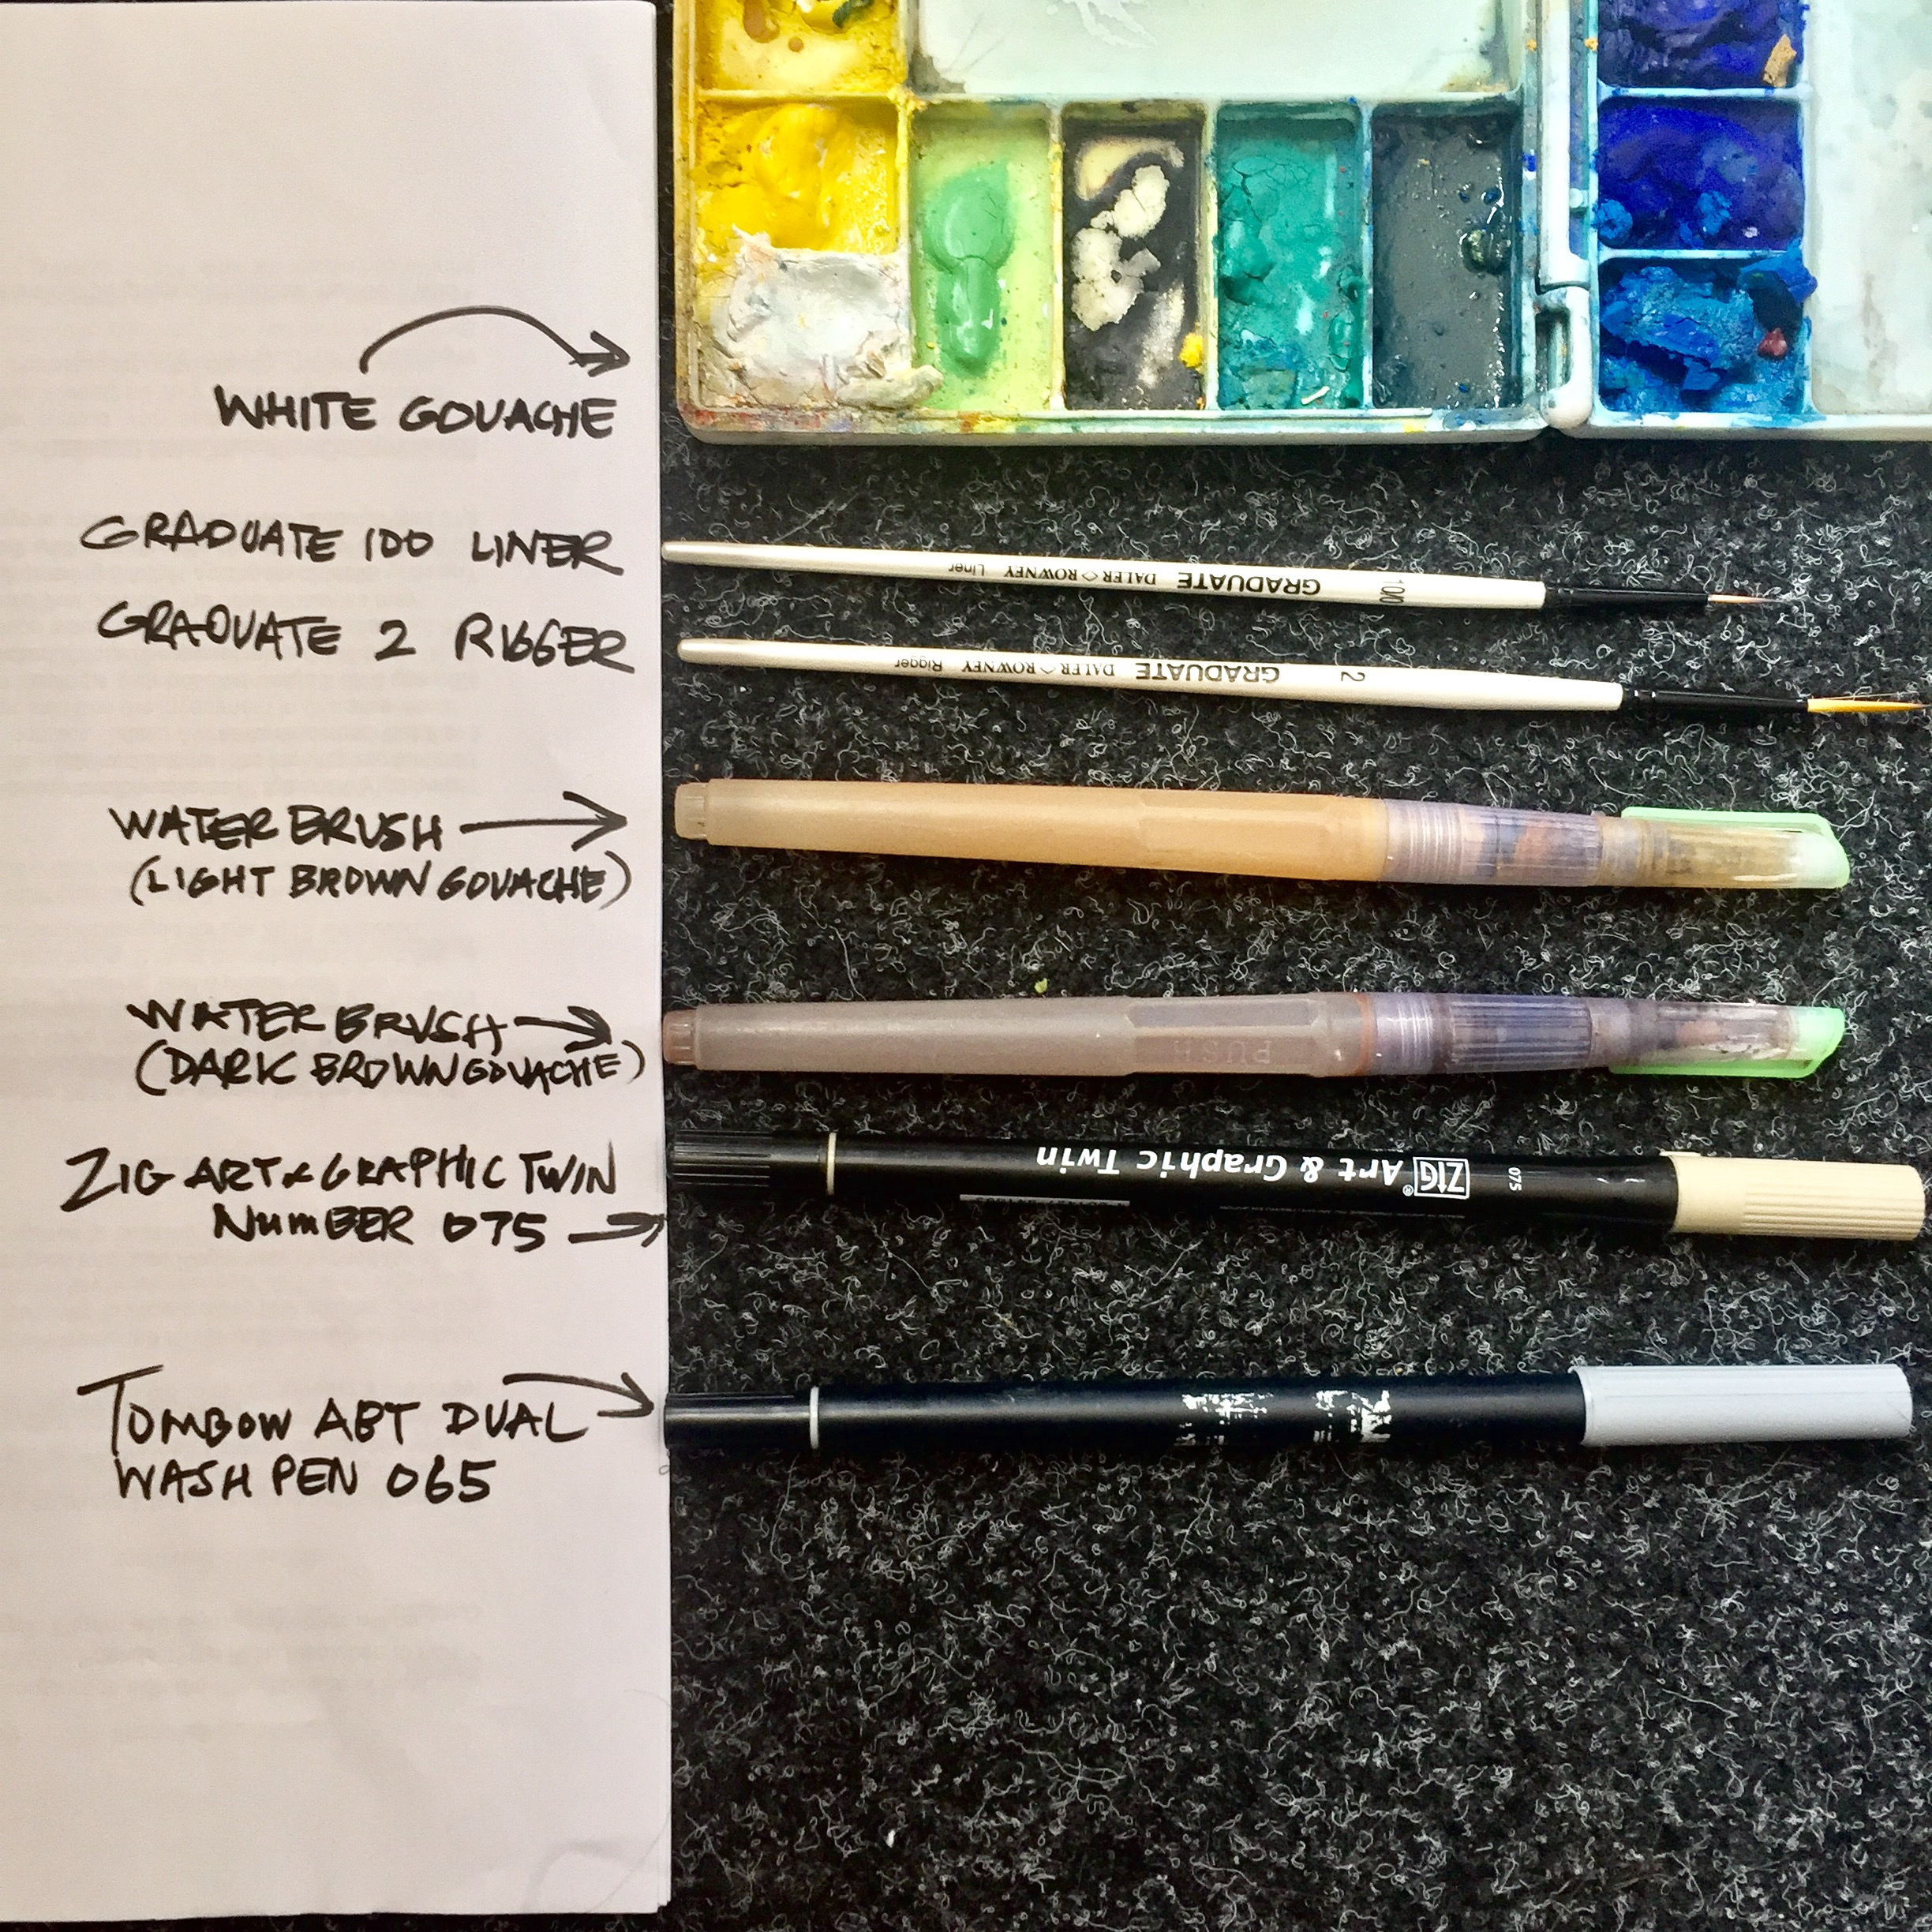
Materials-these are the materials I have used for this sketch. I hope the labelling is clear enough.
From the Top.
1. White Gouache.
2. Daler Rowney, Graduate 100 Liner Brush.
3. Daler Rowney, Graduate Rigger Brush.
4. Pentel Water Brush with Light Brown Gouache.
5. Pentel water Brush with Dark Brown Gouache.
6. Zig Art & Graphic Twin Pen number 075
7. TOMBOW ABT Dual Brush Pen number 065
SKETCHBOOK USED
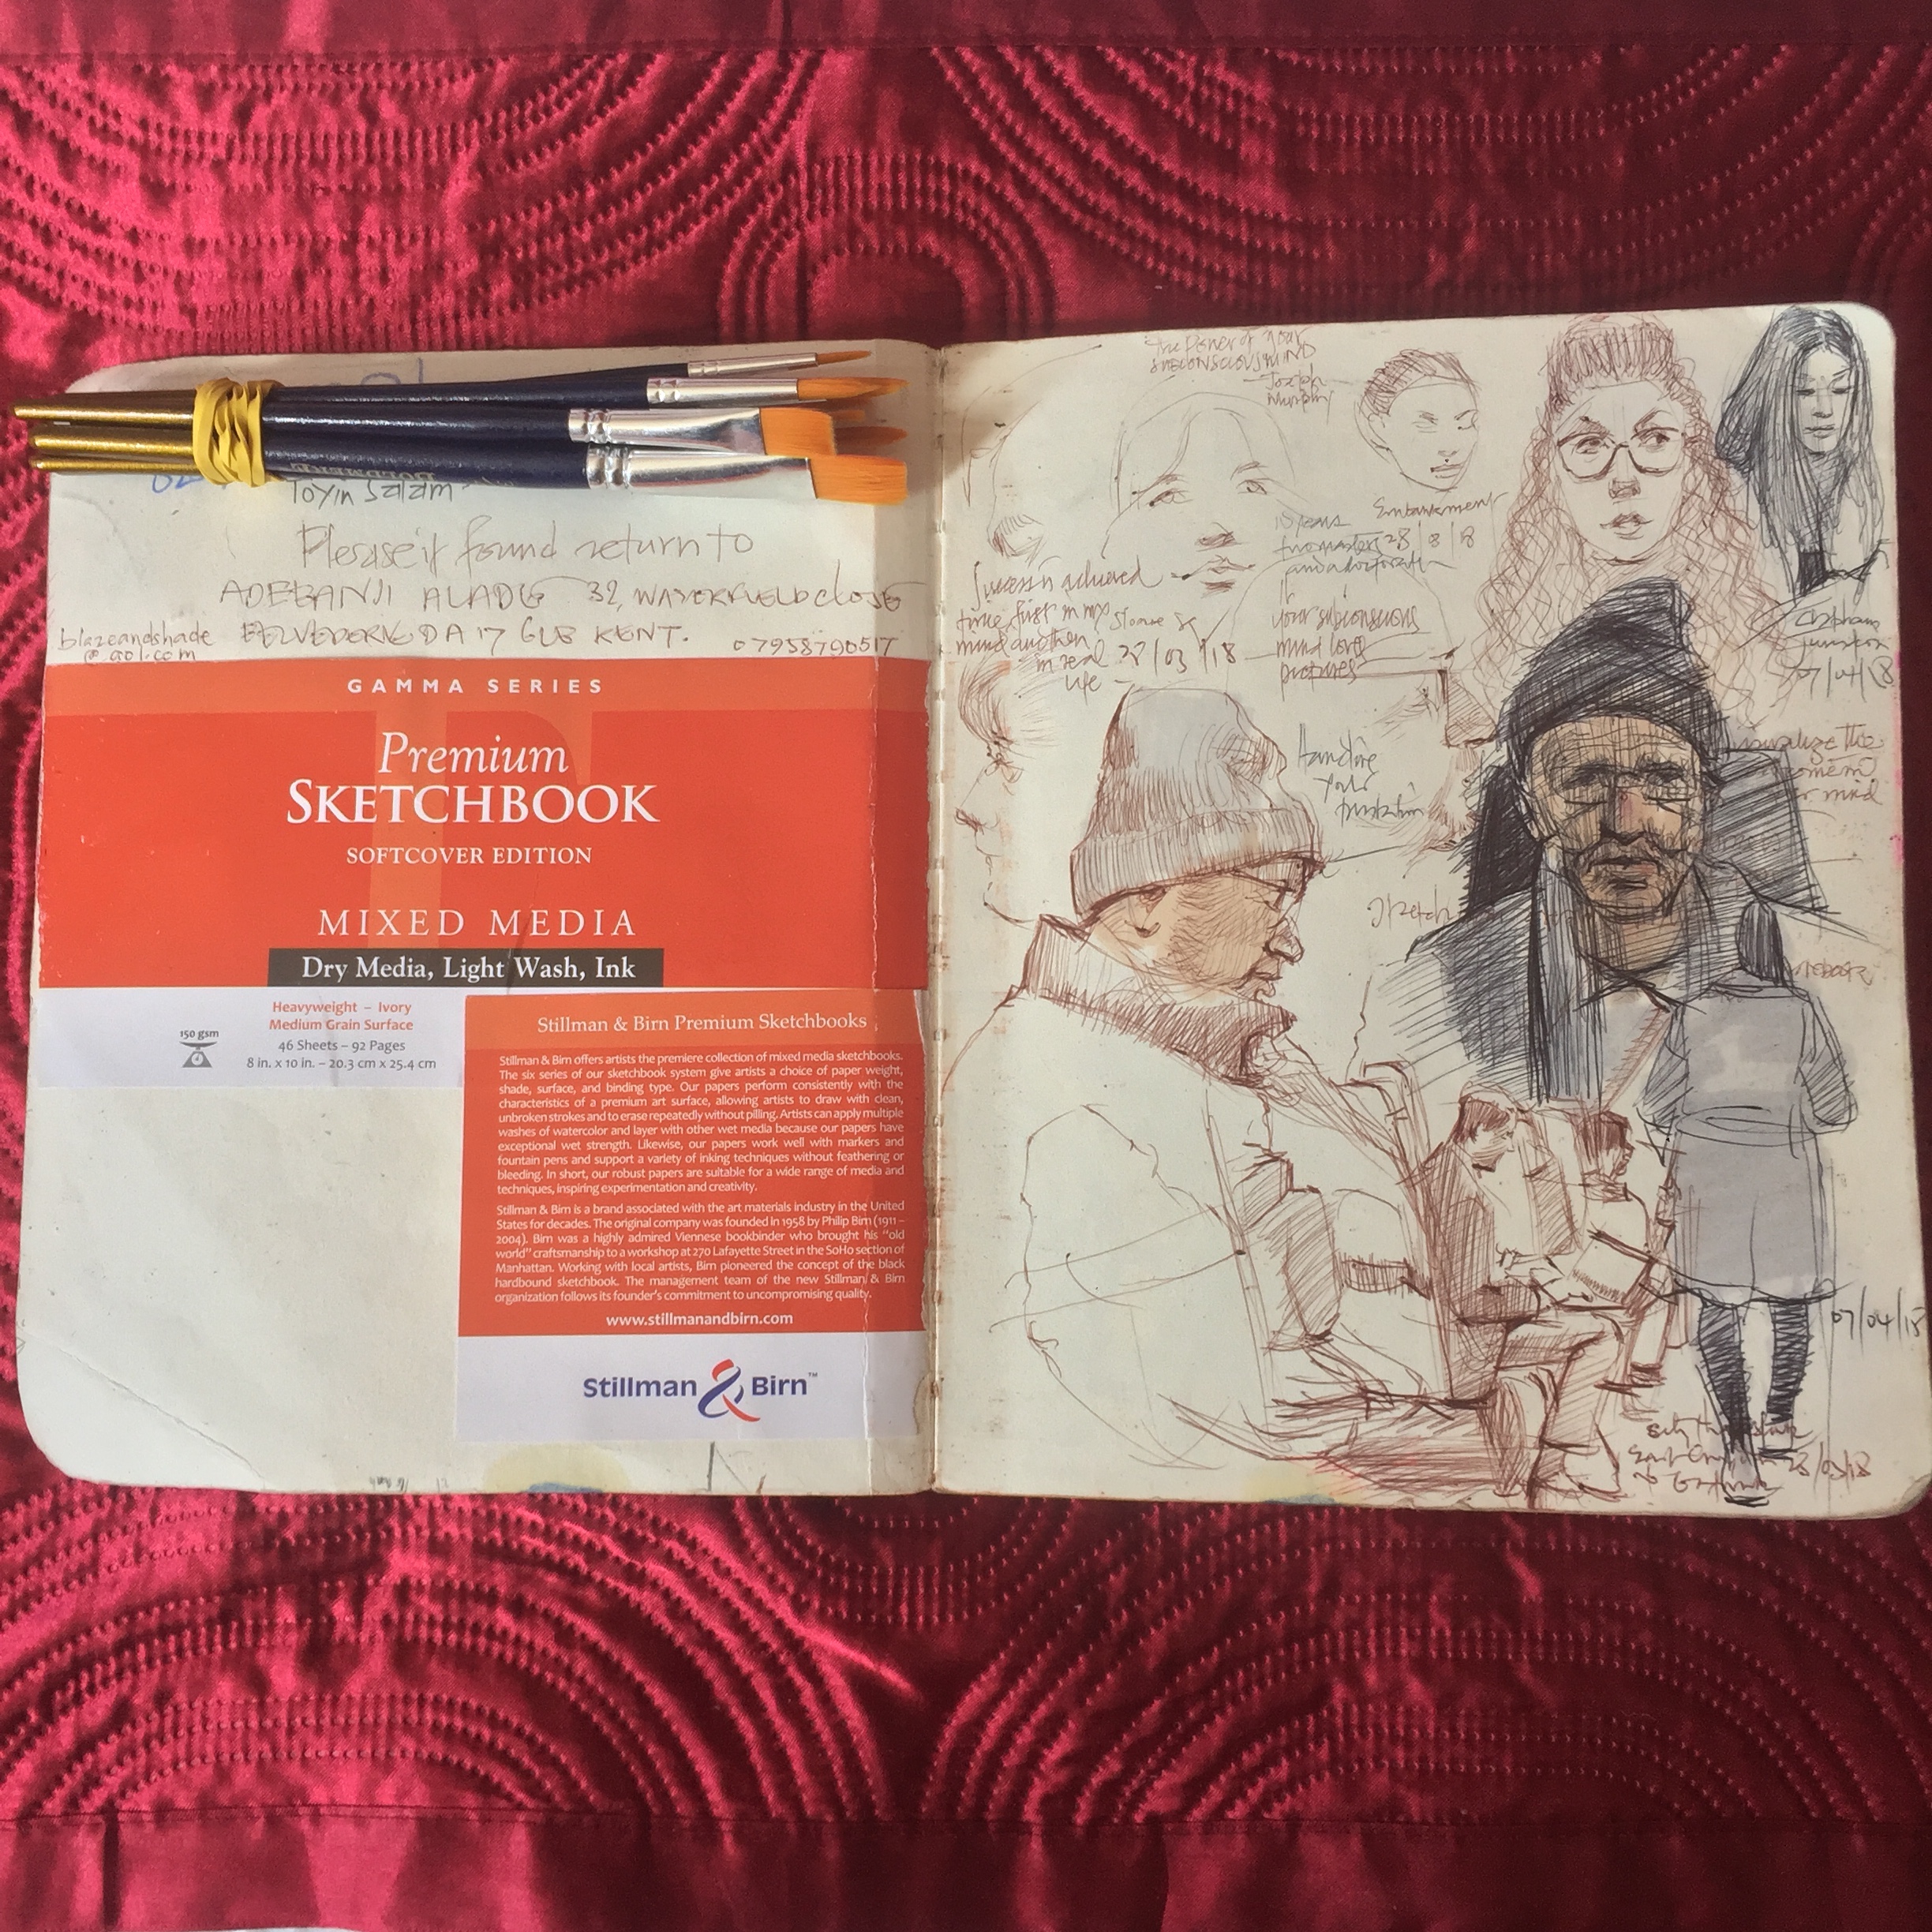
SKETCHBOOK- I used Stillman & Birn Premium Sketchbook. (Gamma Series) It is good for Dry Media, Light wash and Ink. the paper is 150gsm.
And if you found this interesting and you want to have a full day where you watch me demonstrate and also help you with sketching the human face, helping you to resolve little knots that normally arise like shadows, placement, proportion, resemblance, edges, features, character….. then make sure you are present at my WORKSHOP on the 14th of July, 2018. Click HERE FOR MORE DETAILS
Adebanji Alade’s One day Workshop on Sketching The Human face in London
Tagged with: addictive sketcher • Adebanji Alade • sketch • Sketch workshop • sketching • sketching the human face
Filed under: Announcements • Inspiration to sketch • Sketchbook • sketching Materials • Sketching Tips • workshop
Like this post? Subscribe to my RSS feed and get loads more!

Subscribing to RSS feed please
I love your way of working and would like to be on every list you have. Thank you
Thanks Shelley! I’m happy you love my process!
BRAVO!! Love your work and appreciate learning how it was done.