HOT SHOT 30- Inside Out painting Process and PORTRAIT WORKSHOP in LONDON.
This post is all about my method of painting in the -“INSIDE-OUT” Technique and to talk about my last workshop for the year, which is, “PAINTING THE PORTRAIT FROM LIFE”. First I’ll talk about the workshop.
I will having my final workshop of the year in London. It’s going to be on everything I know about painting the human face from life. See the poster below:
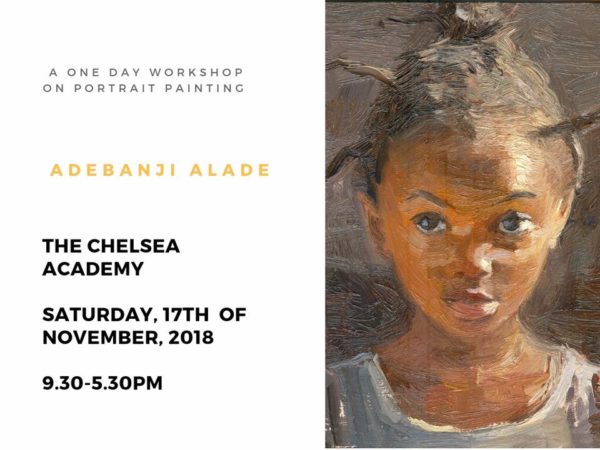
ADEBANJI ALADE’S PORTRAIT PAINTING WORKSHOP AT THE CHELSEA ACADEMY ON SATURDAY THE 17TH OF NOVEMBER 2018
Click HERE for all the details about the workshop and how to register.
or click on the link here- https://adebanji-alade.lpages.co/painting-a-portrait-workshop-nov-2018/
Now I will deal with one of the methods/techniques I use to paint to paint portraits. It’s where I start from one spot inside the face and just gradually spread out till I finish the portrait.
I used a new palette of Titanium White, Indian Yellow, Transparent Red Oxide and Ultramarine Blue. It was done straight Alla Prima.
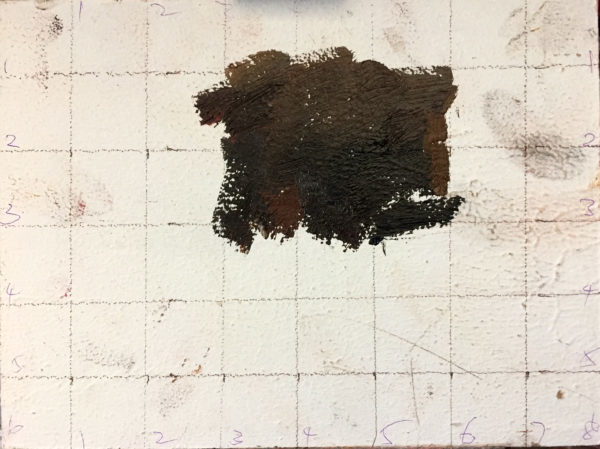
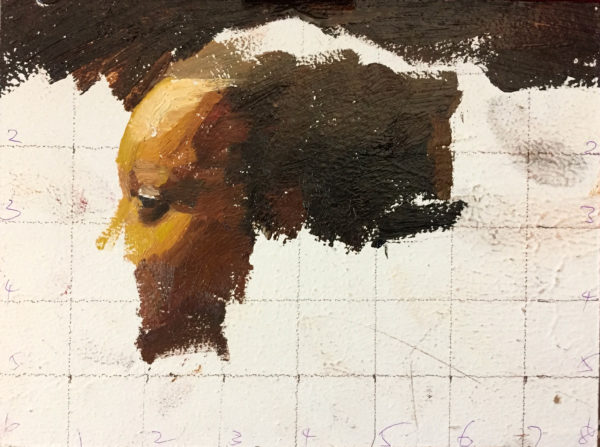
Stage 1-Almost looks so simple but this simple rectangle or shape of colours is my first bit of painting to complete a portrait using the Inside-Out method-Where I start from somewhere inside the painting and spread out on to the rest of the painting. The colours are all in the brown scheme but they are not similar, every mixture is placed with purpose and intention right from the start. It is very important to start with sort of seriousness and make sure you are very sure everything is going in the right direction from the start. There is no room for slapdash strokes here and there, hoping that it will eventually come together from that chaos. Now, that might work but I can guarantee you that this direct method would save you time and help you become more discipline with your process and procedure.
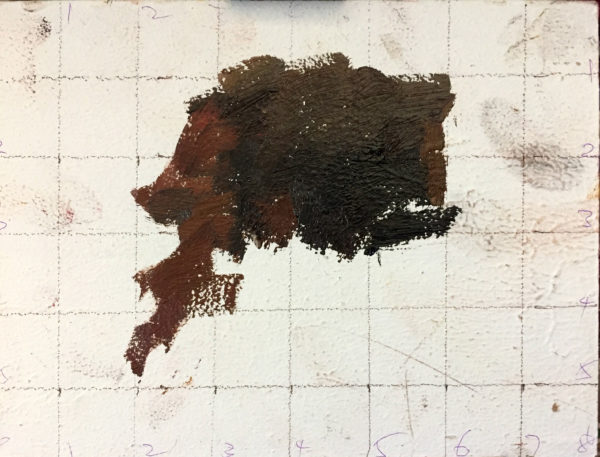
Stage 2. Now you are beginning to see the next bit of connecting shape which emerges form the rectangular shape we talked about in the first stage. this stage almost reveals somewhat of a persons face but is still not clear. Do not worry about details when using this method. The only requirement for this method of “Inside -Out” is great drawing skills. If you can just focus on each interlocking shape and make sure that you put the right size of the shape with the right tone or colour you are bound to enjoy this method. And as you go along be careful to take note of edges, because its the edges that bring this to life. I have use a bit more lighter browns in the shapes that follow the rectangular shape and moe of this will unfold in the next stage.
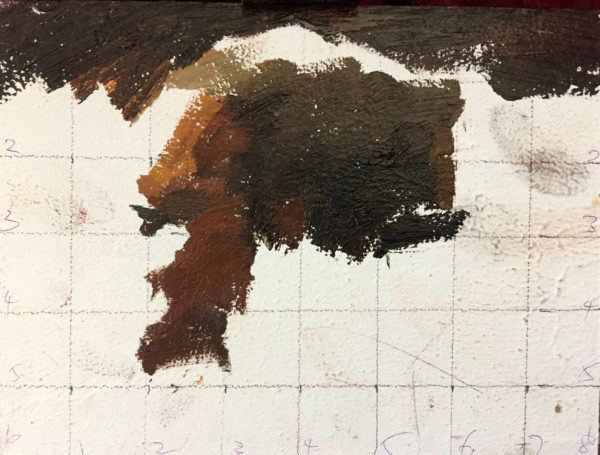
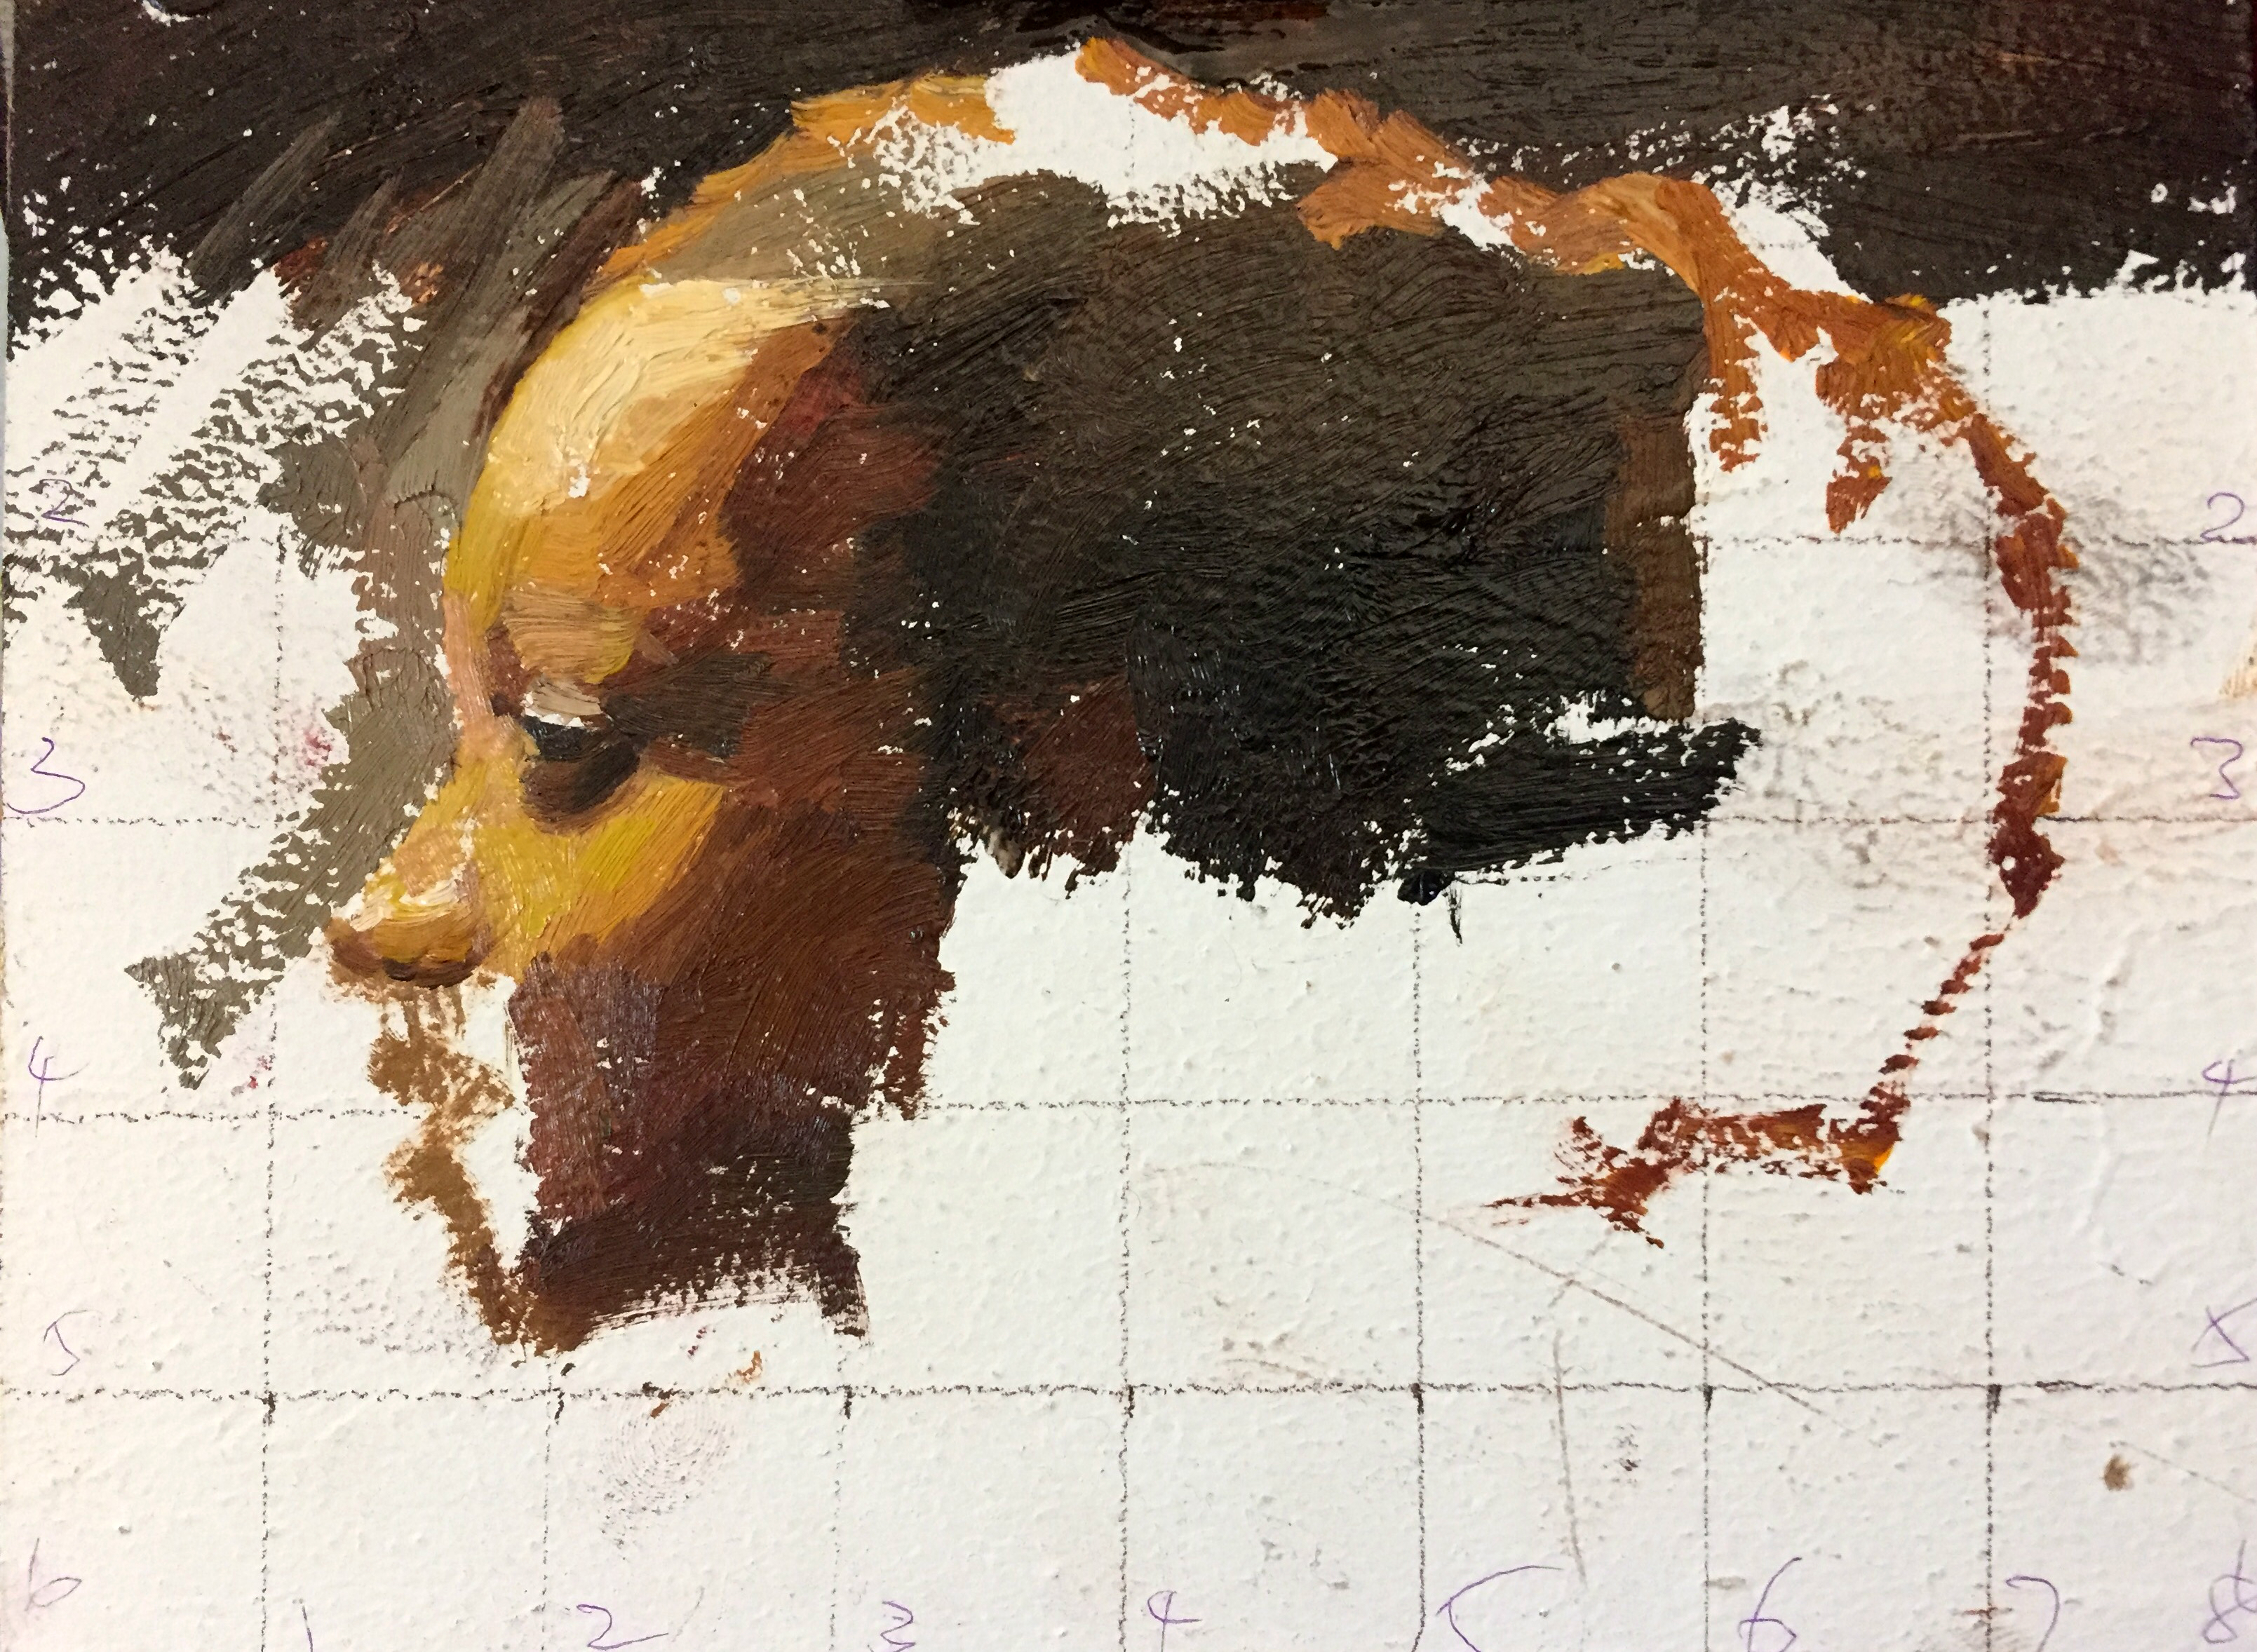
Stage 3– Carefully navigating around the surface I decide to add a bit more definition to the face by revealing the first clear feature-The Eye- and I also work a bit on the background on the top part of the surface. speed is one thing that must be eliminated! Speed kills, take your time and carefully allow your painting to unfold at a pace you are most comfortable with. Never venture to go too fast for what you can cope with. Steady and slow is always better and will prevent you from doing what I call-“Corrective painting” later on in the work.

Stage 4– Look at how the first bit of light adds so much clarity to the portrait at this stage. This is the beginning of greater things to come! You can now see the eye being revealed and the cheek bone. the browns are now moving into ochre and lighter tones here.
Stage 5– More careful modelling is required here and it takes a lot of patience to make sure each stroke really reveals what you want it ot reveal. always think like a sculptor when painting the human face. It will help you have the right mindset towards face. You will be able to think of the first in terms of mass and form rather then something flat on a 2 dimensional surface.
Stage 6- I get into a bit of wandering here but you can see how the ability to sketch with fluidity comes in handy here. most features are revealed here and I must confess, I did rush a bit at this point. So please remember this, “Your brain will always want you to go faster than you feel you can go. Just ignore that and keep going at a steady pace.”
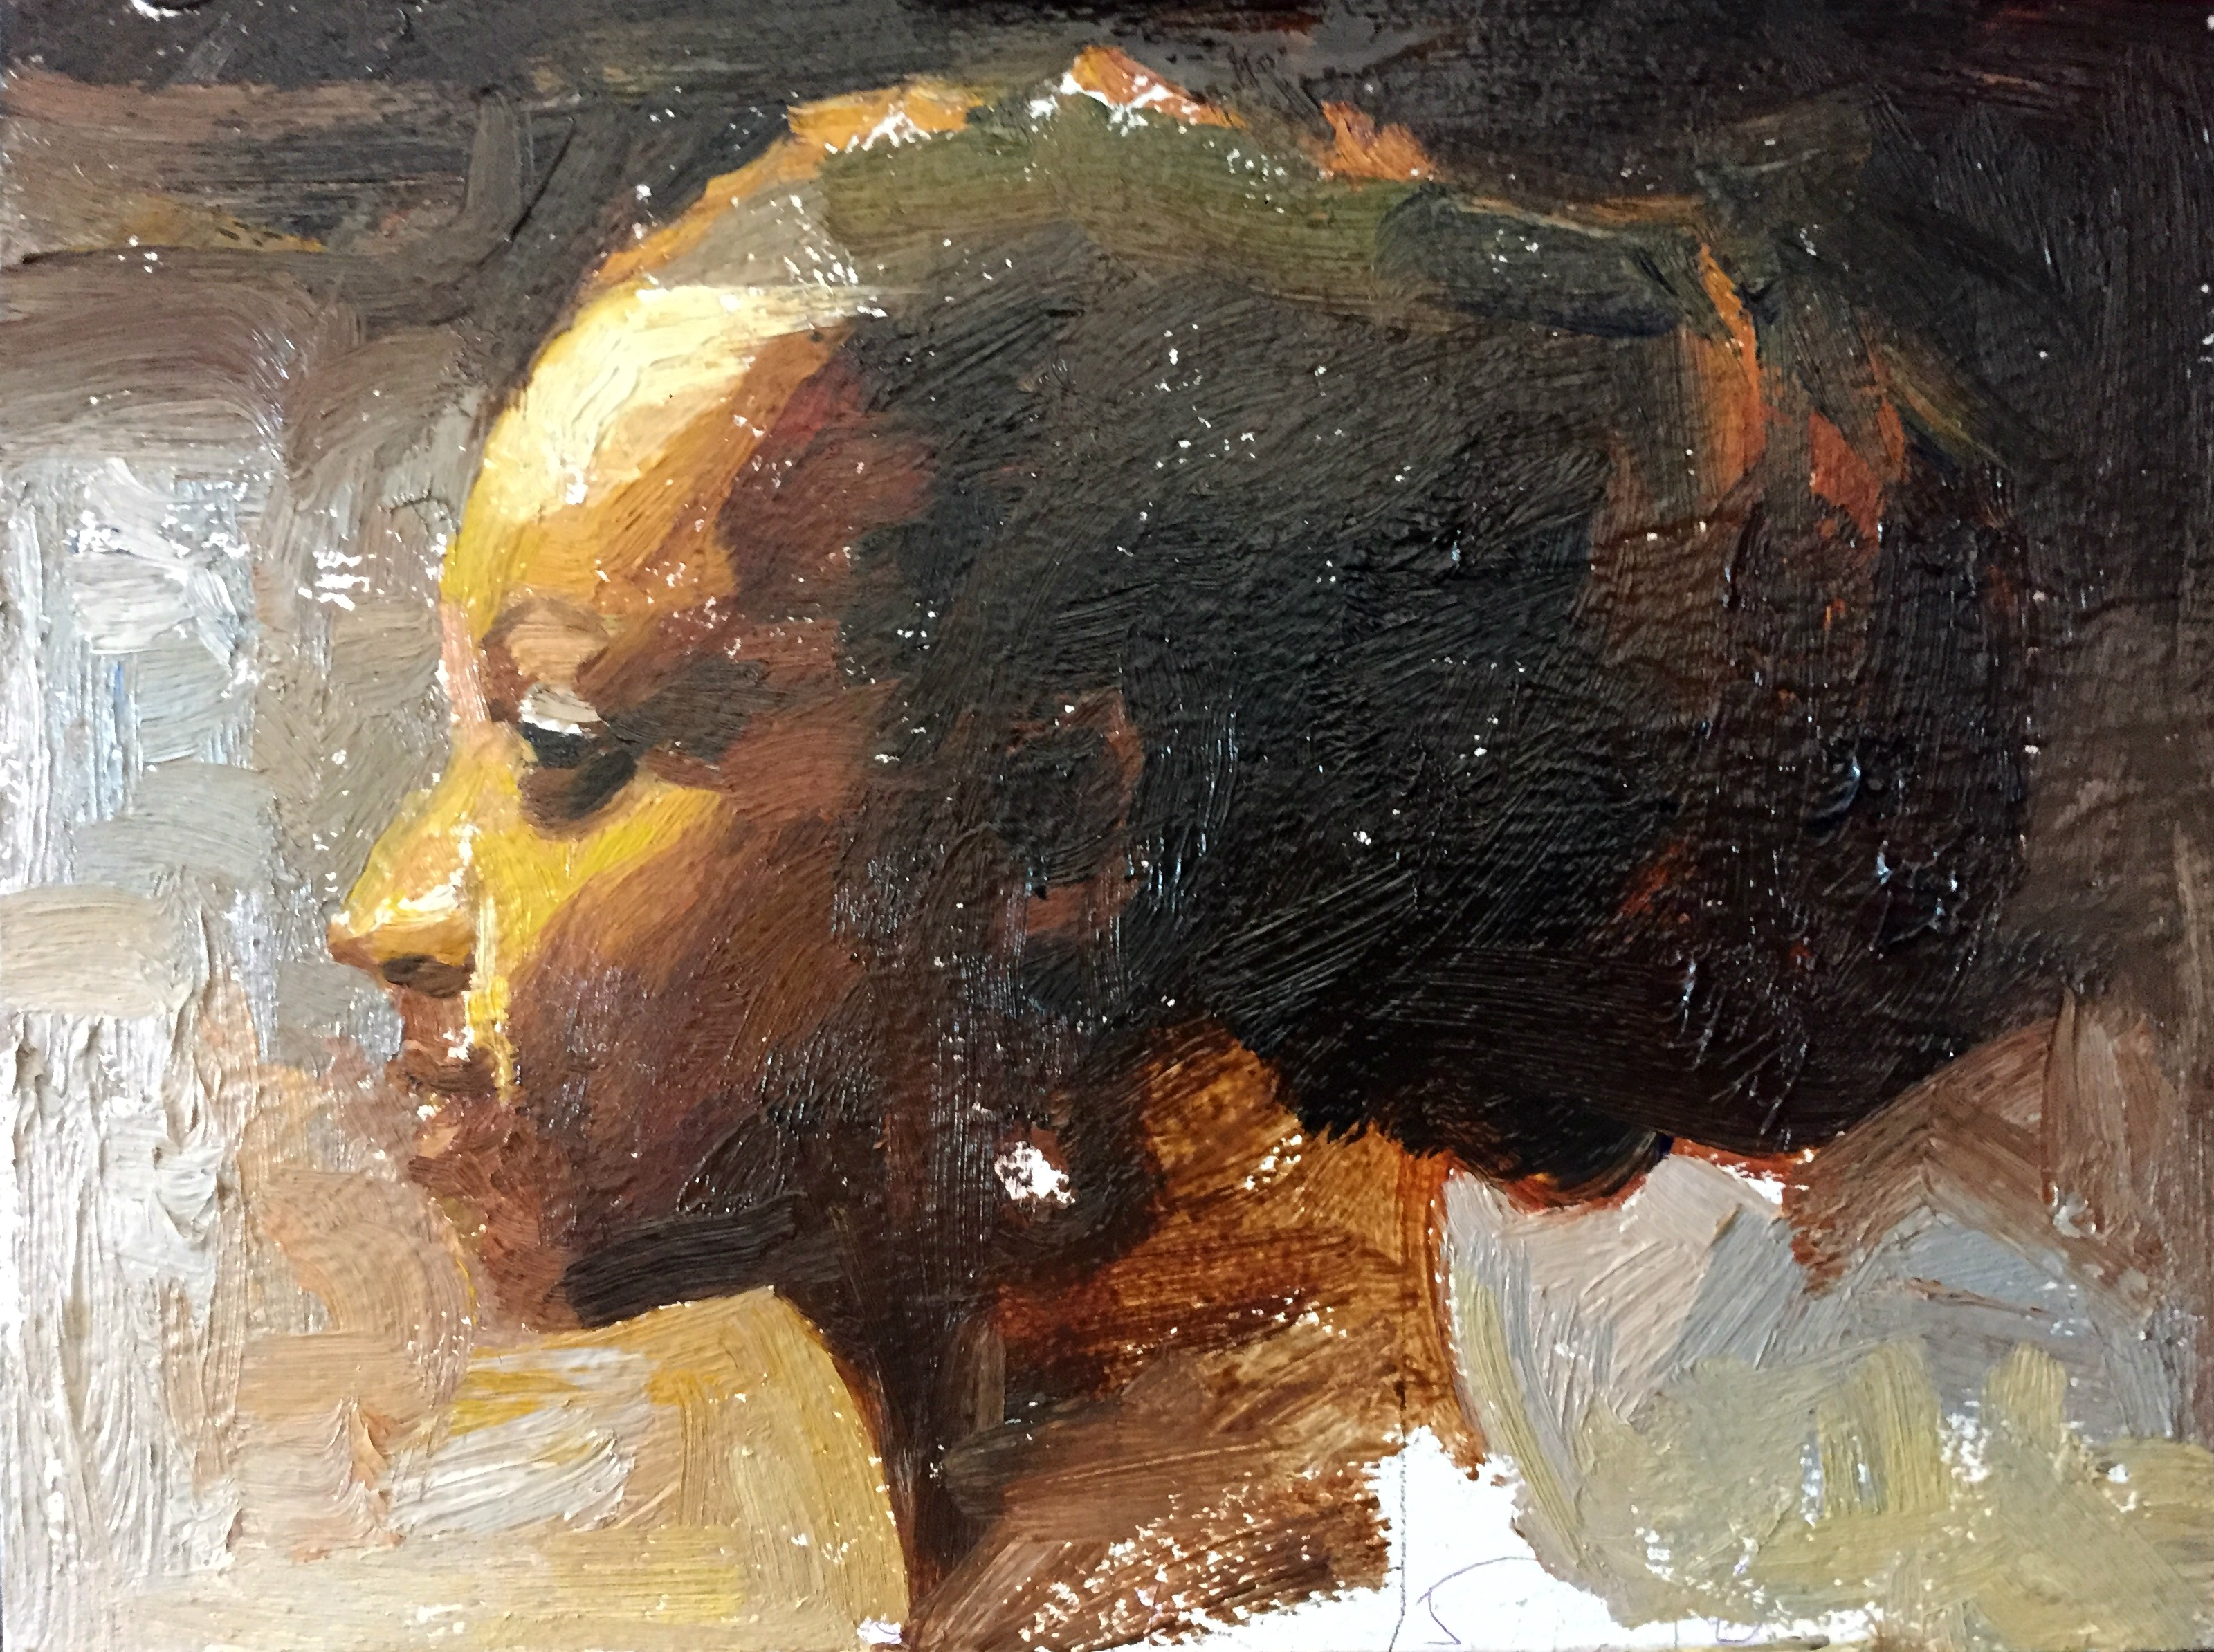
Stage 7– Here I really get down to a bit more definition on the face and in the background making sure I keep everything in a scheme of unity. The key to the background is to make sure it doesn’t interfere with the face. The face has warm colours so I decided to make most of the background cool.

Stage 8– Final stage- The icing on the cake! This is where all loose ends re tightened. the drawing is worked on and corrections are made. Look at how much width I took away from the neck? I could have done more to it but since this piece is part of my deliberate portrait practice, I just decided to let it go at this point, as I felt within me that I have said all that needs to be said about the face at this point.
Tagged with: alla prima • faces • inside-out • oil on board • portraits • shapes • tones
Filed under: Sketching Tips
Like this post? Subscribe to my RSS feed and get loads more!

I never thought of approaching portraits this way. I will have a go, though I use acrylics not oils. They may not blend so well.
Thank you for sharing your talent.
Brenda
You are most welcome Brenda!