HOT SHOT 25- My portrait drawing process and a Workshop date to save.
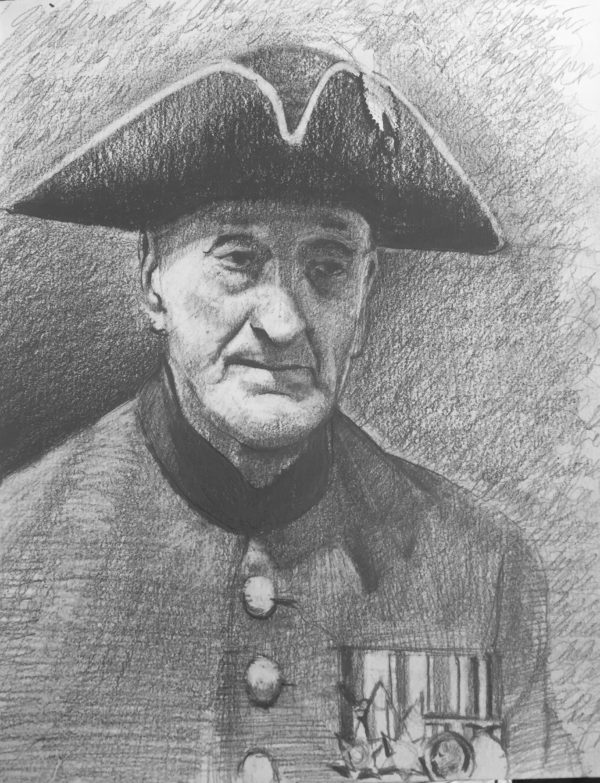
Hi guys, It’s nice to be back here again! This is Hotshot 25! This shows my process of drawing a portrait. It is quite hard to document every stage and sometimes my process does change a bit, but this is the most common method I normally use to approach a drawing from the beginning to the end.
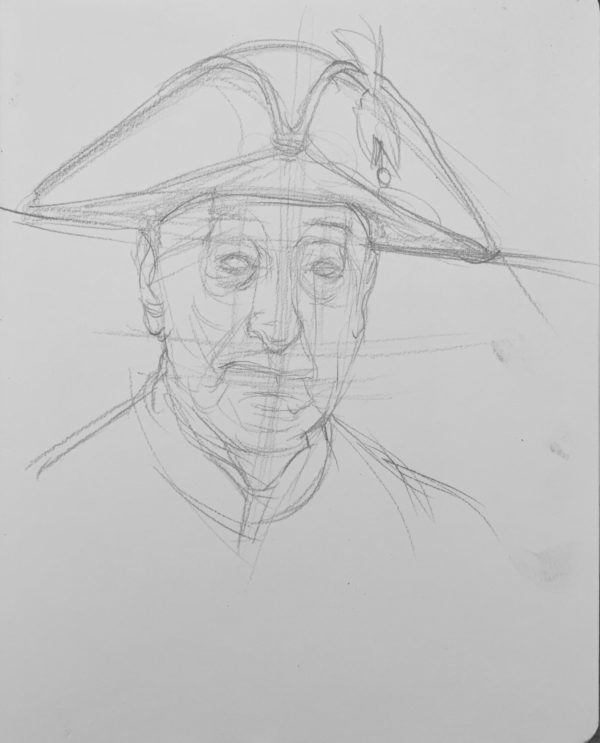
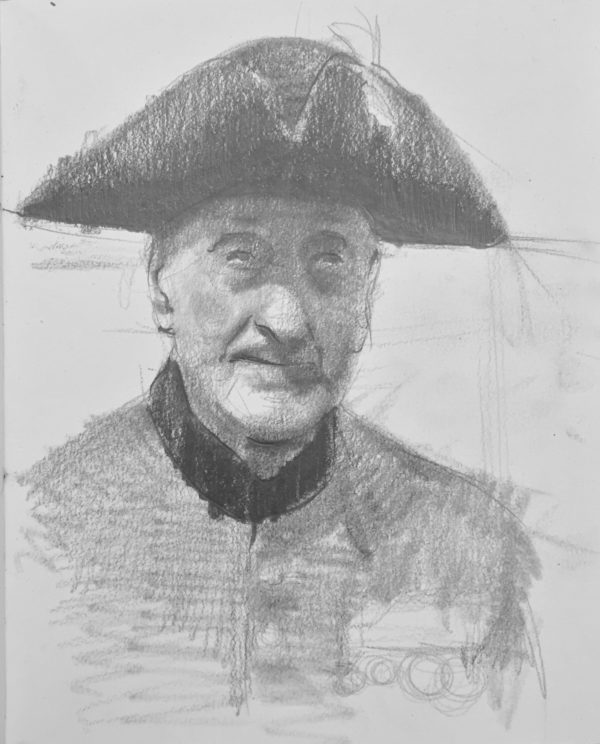
- STAGE 1– This is where I use basic sketch lines to explore the surface area and contour lines. I’m constantly checking for proportions, connections and seeing where lines intersect and connect with other features. Nothing is set in stone, most importantly all my sketch lines are light and of the same weight.
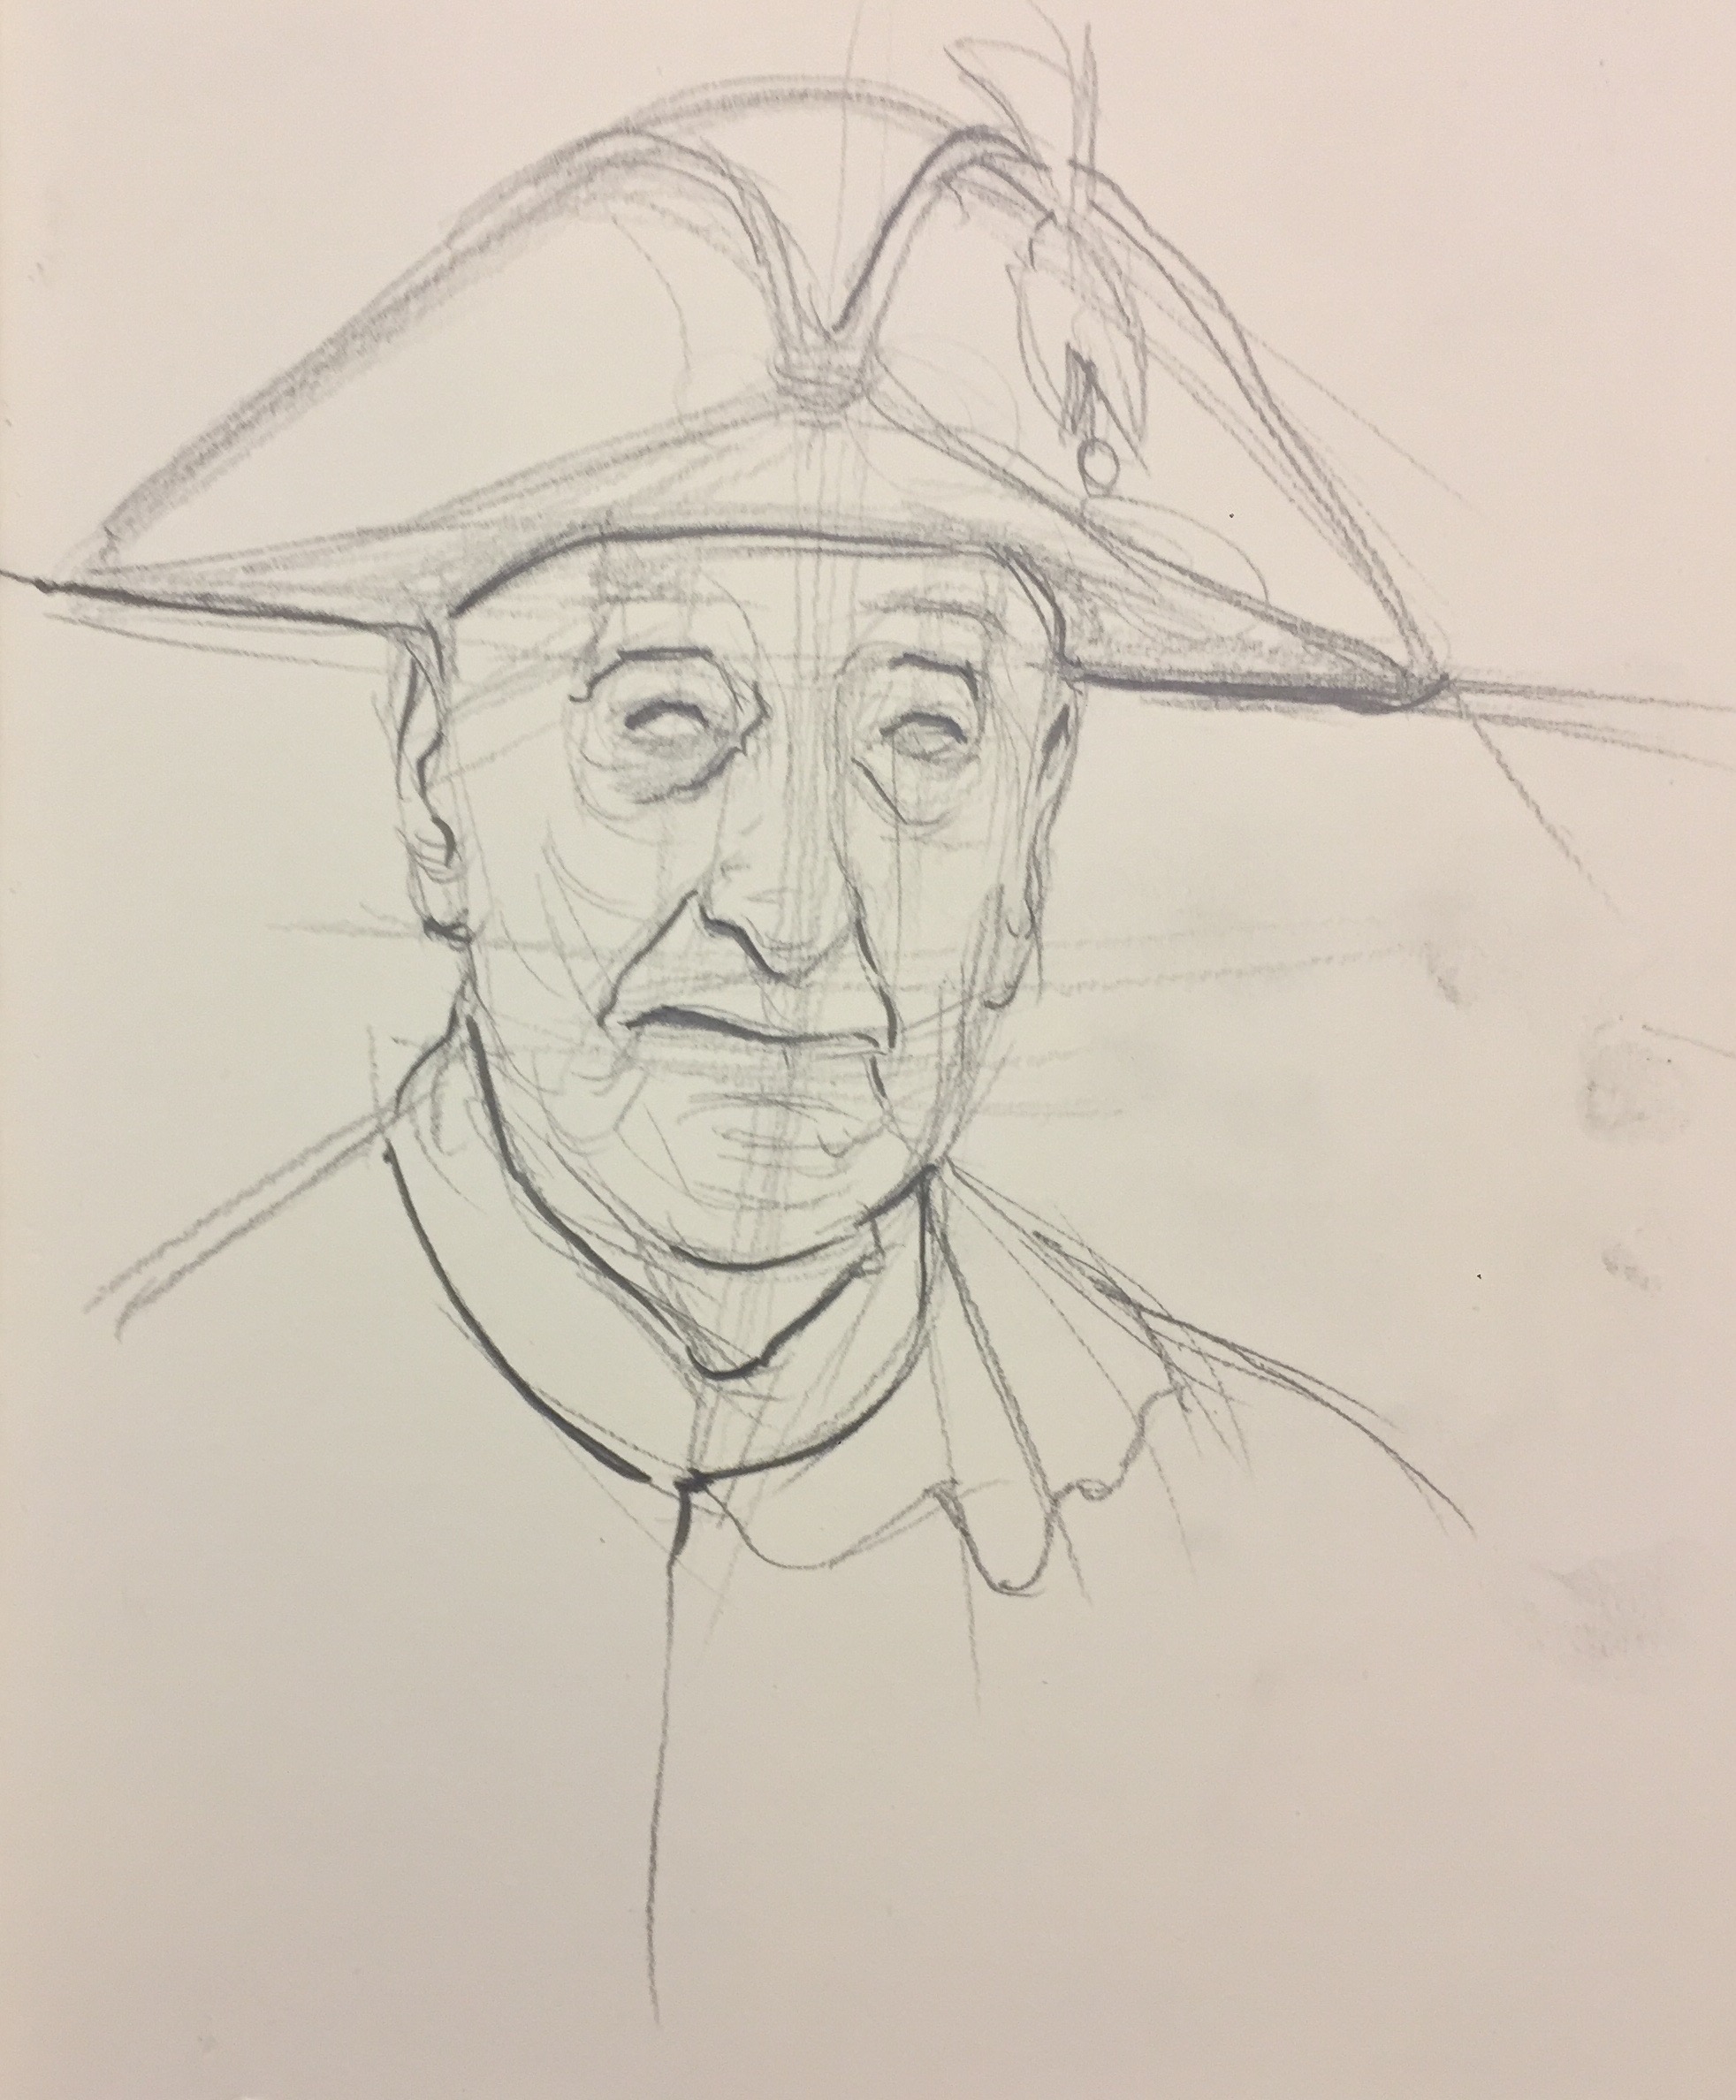
2. STAGE 2– At this point I add heavier lines at places where I think the form carries a lot of weight (under major features) or an area where there is an absence of light.
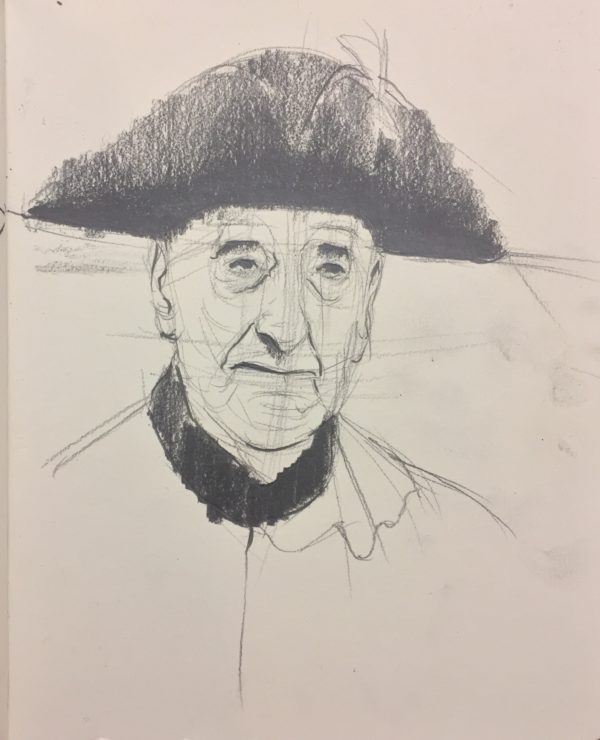
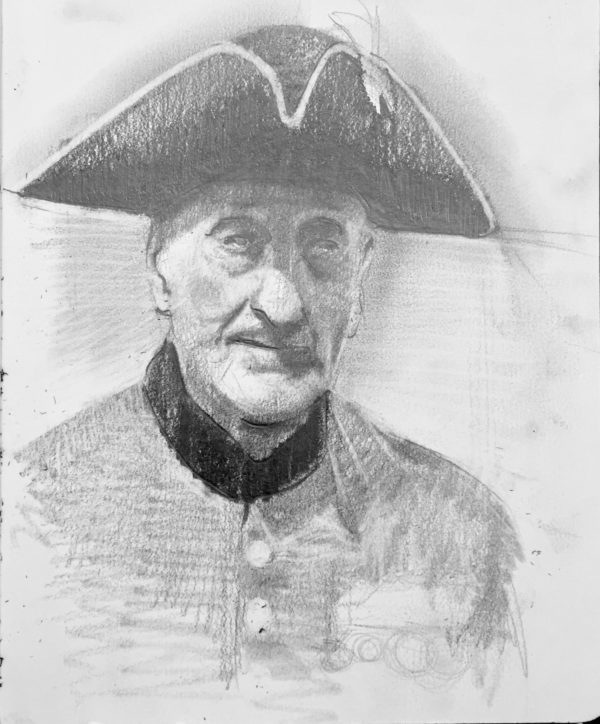
3. STAGE 3– I start by adding the dark tones, just the major dark tones, all over the picture.
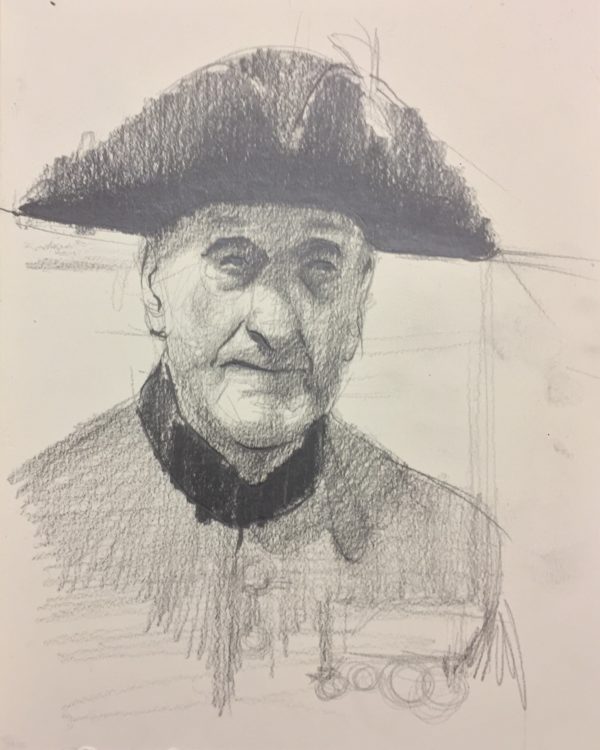
4. STAGE 4– Here I add the middle tones, just every shade in the mid-tonal range. Up till this point, I am using a Chunky graphite stick, it’s 6B. I use the tip of it and the sides.
5. STAGE 5– This is the point where I soften the lines and marks I have made so far and I do this with a stump.
6. STAGE 6– I use a an eraser to remove the lights in all places on the surface
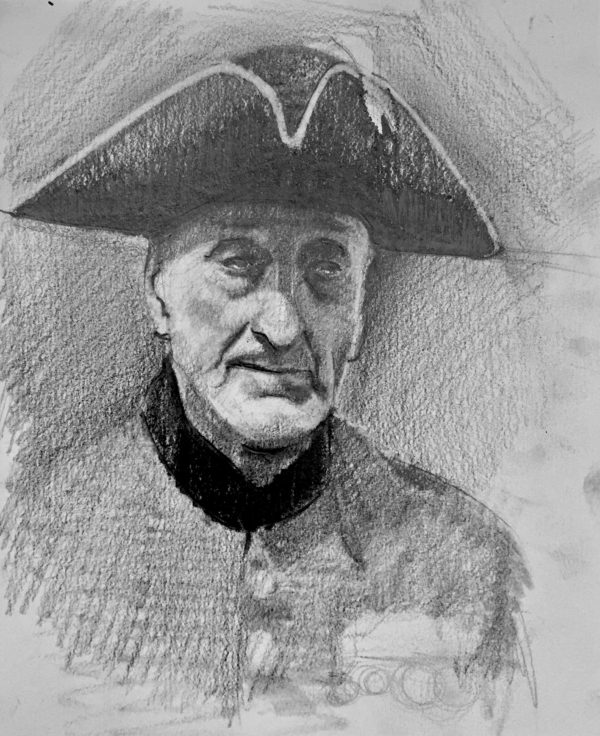
7. STAGE 7– I start working on the background from this point
8. STAGE 8– I work more on his top, adding details to his buttons and badges.
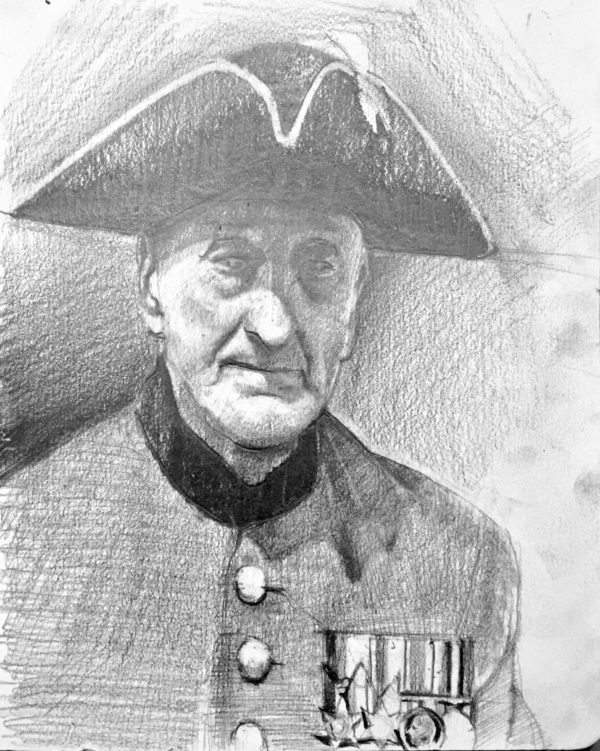
9. STAGE 9-I do more work on his top and also do a little more work on the background. I thought the background would have some calligraphy at this point, but it was later obliterated with darker marks in the background.
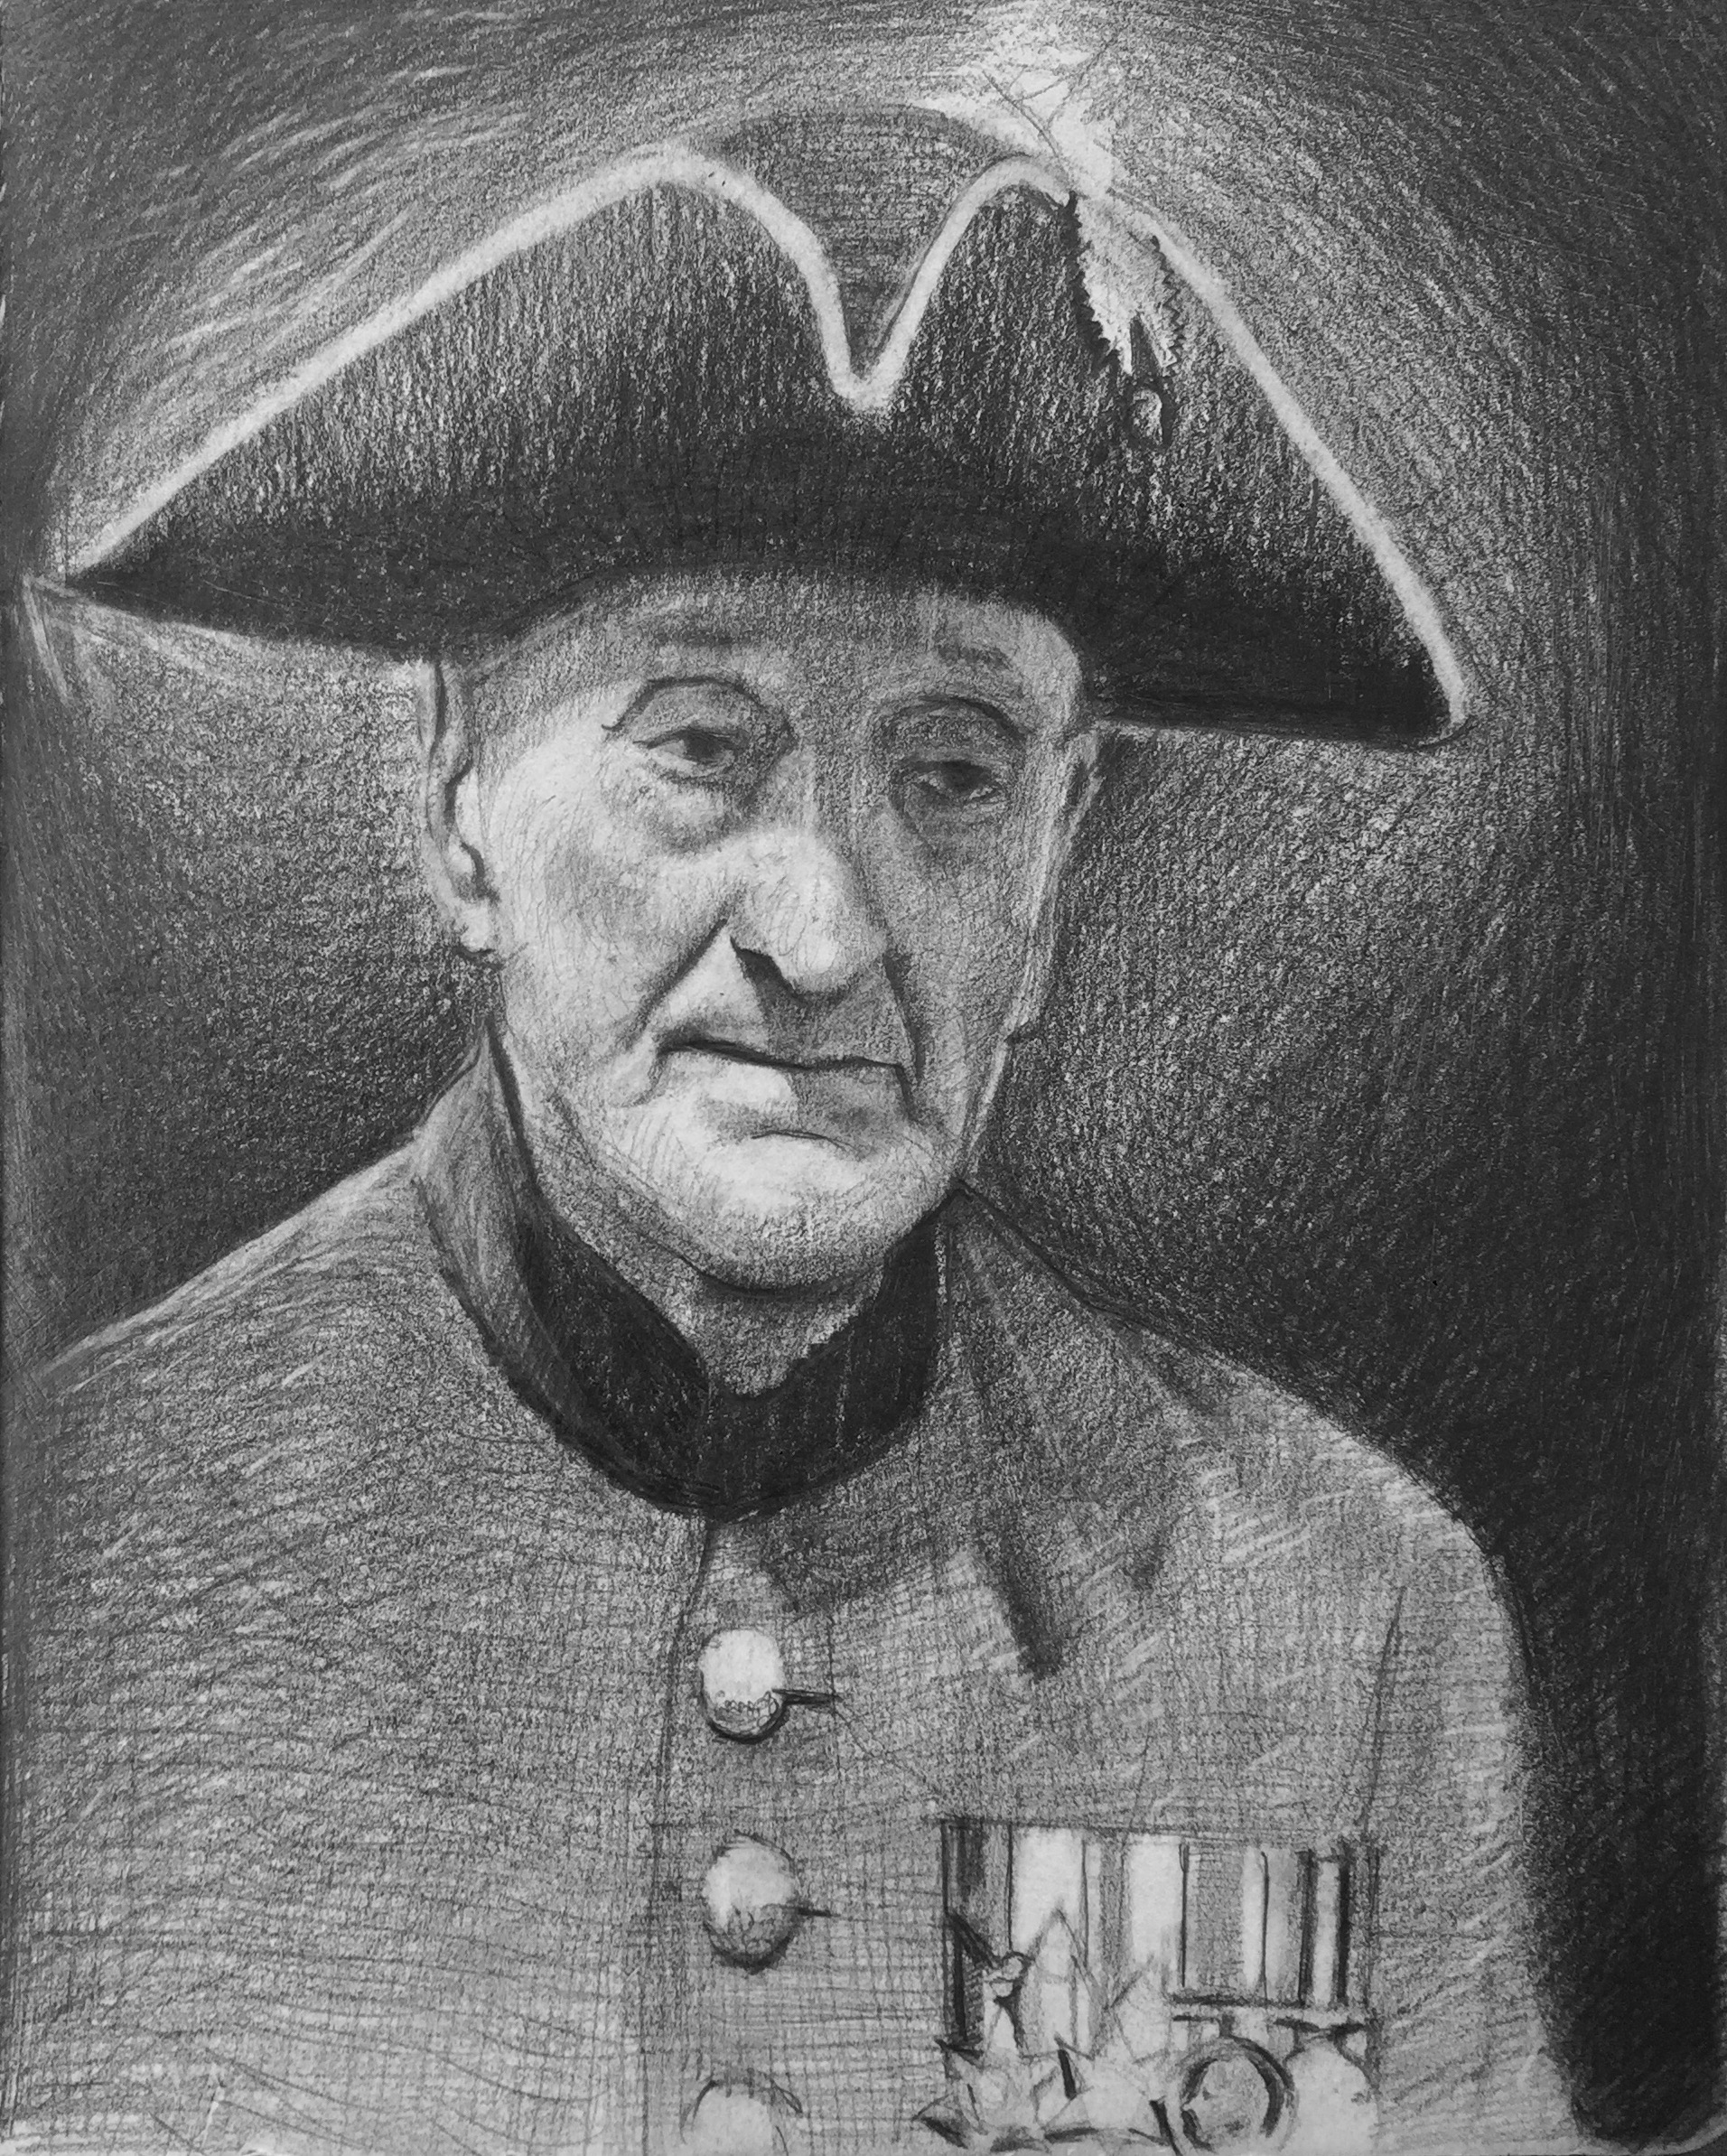
10. STAGE 10– Here’s where I tie the background together to make it work with the sitter, I get rid of the calligraphy in the background and decide to make it darker as if a strong spotlight or halo was around his head.
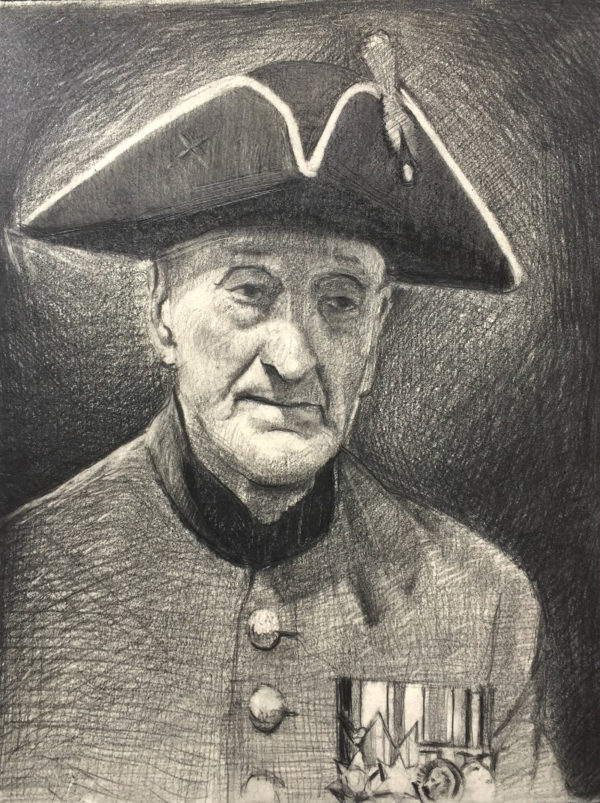
11. FINAL STAGE– Here’s where I soften the hard stokes to reveal the smooth velvety material of his hat. I also work on bringing out as much detail on his top and face.
Hope you enjoyed that. Below is a picture of the materials I used in completing this piece. I’m so sorry the images were taken under different light conditions.
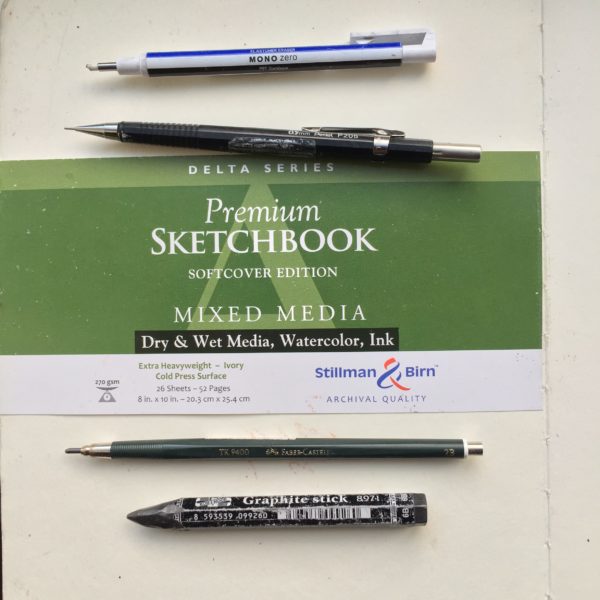
The materials I used- from the top 1. MONO ZERO Elastomer Eraser by Tombow. 2. 0.5mm P205 Mechanical HB Pencil by Pentel. 3. Stillman & Birn Delta Series Sketchbook, 8″ x 10″. 4. TK 9400 2B Lead Refill Pencil by Faber Castell 5. Chunky Graphite stick 6B by KOH- I- NOOR
WORKSHOP THIS MONTH IN LONDON
I will be holding my first workshop this year on the Saturday the 24th of March in Chelsea, London. If you are interested in the Urban Landscape this is the one workshop you don’t want to miss! Details are soon to follow…..
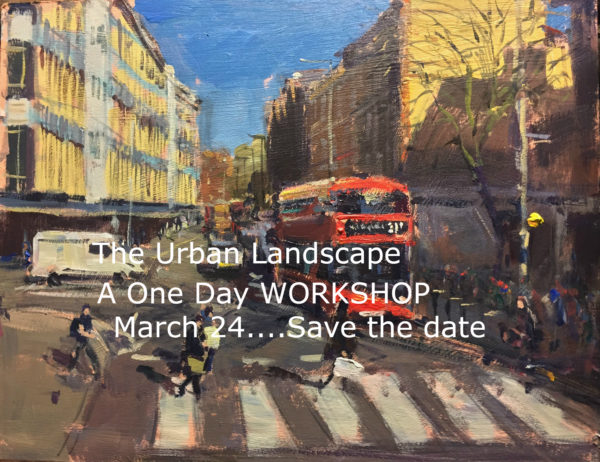
Save the date, March 24, 2018.
The Urban Landscape Workshop in London, details to follow.
Tagged with: Adebanji Alade • drawing • graphite • pencil • Sketches • the urban landscape • workshop
Filed under: Announcements • Sketchbook • Sketching Tips • Uncategorized • workshop
Like this post? Subscribe to my RSS feed and get loads more!

It’s always great to see the process used by artists but yours are always so full of energy and good tips, I can hear you saying those written words, words which are so helpful sto me! I love watching your tube drawings too,!! Thank you!
Thanks Joy, glad you found this beneficial.
Hi Adebanji,
Thank you so much for your really informative and interesting posts. It is fascinating and very helpful to have such a clear insight into your thinking and how you achieve your drawings.
I really would have loved to come to the workshop on 24th March but unfortunately as luck would have it I’m already booked on another workshop that date! Hopefully I’ll be able to come to others in the future.
Thank you again, and best wishes
Thanks Liz! I’m glad you found this helpful and I really hope you enjoy your workshop on the 24th too!
Thanks for sharing your step by step… it is inspiring.
Thanks Elaine!
Thank you so much. Very helpful to view the stages you went through and best of all to name all your tools and the exact paper you used. So many online demonstrators leave that out.
Thanks Jenni, I’m glad you found it helpful!
Hi Adebanji,
love your workshops hope to attend this one;
Drawing of Chelsea Pensioner – superb !
Adebanji, do you spray your graphite pencil drawings and sketches in your sketchbooks as a general rule, and if not, don’t they smudge and transfer onto the opposing page? I found it useful to see how you move through the stages – I suppose putting down the darks early on helps you judge and compare the mid-tones, which is something I often struggle with?